header picture

header picture

Sunday, January 1, 2017

Minty-Green Sock Yarn

Ah, the winter. When it is dark by the time I get home, so all my project pictures are bad. Sorry, I haven't been good about keeping you all up to date on my projects recently, but I guess that just means that I have lots to write about this month.

Work on the shawl continues, and I have started a scarf that my brother commissioned for his new girl friend. I'll try to go into more detail in the future, but today I am just going to update you on a spinning project.

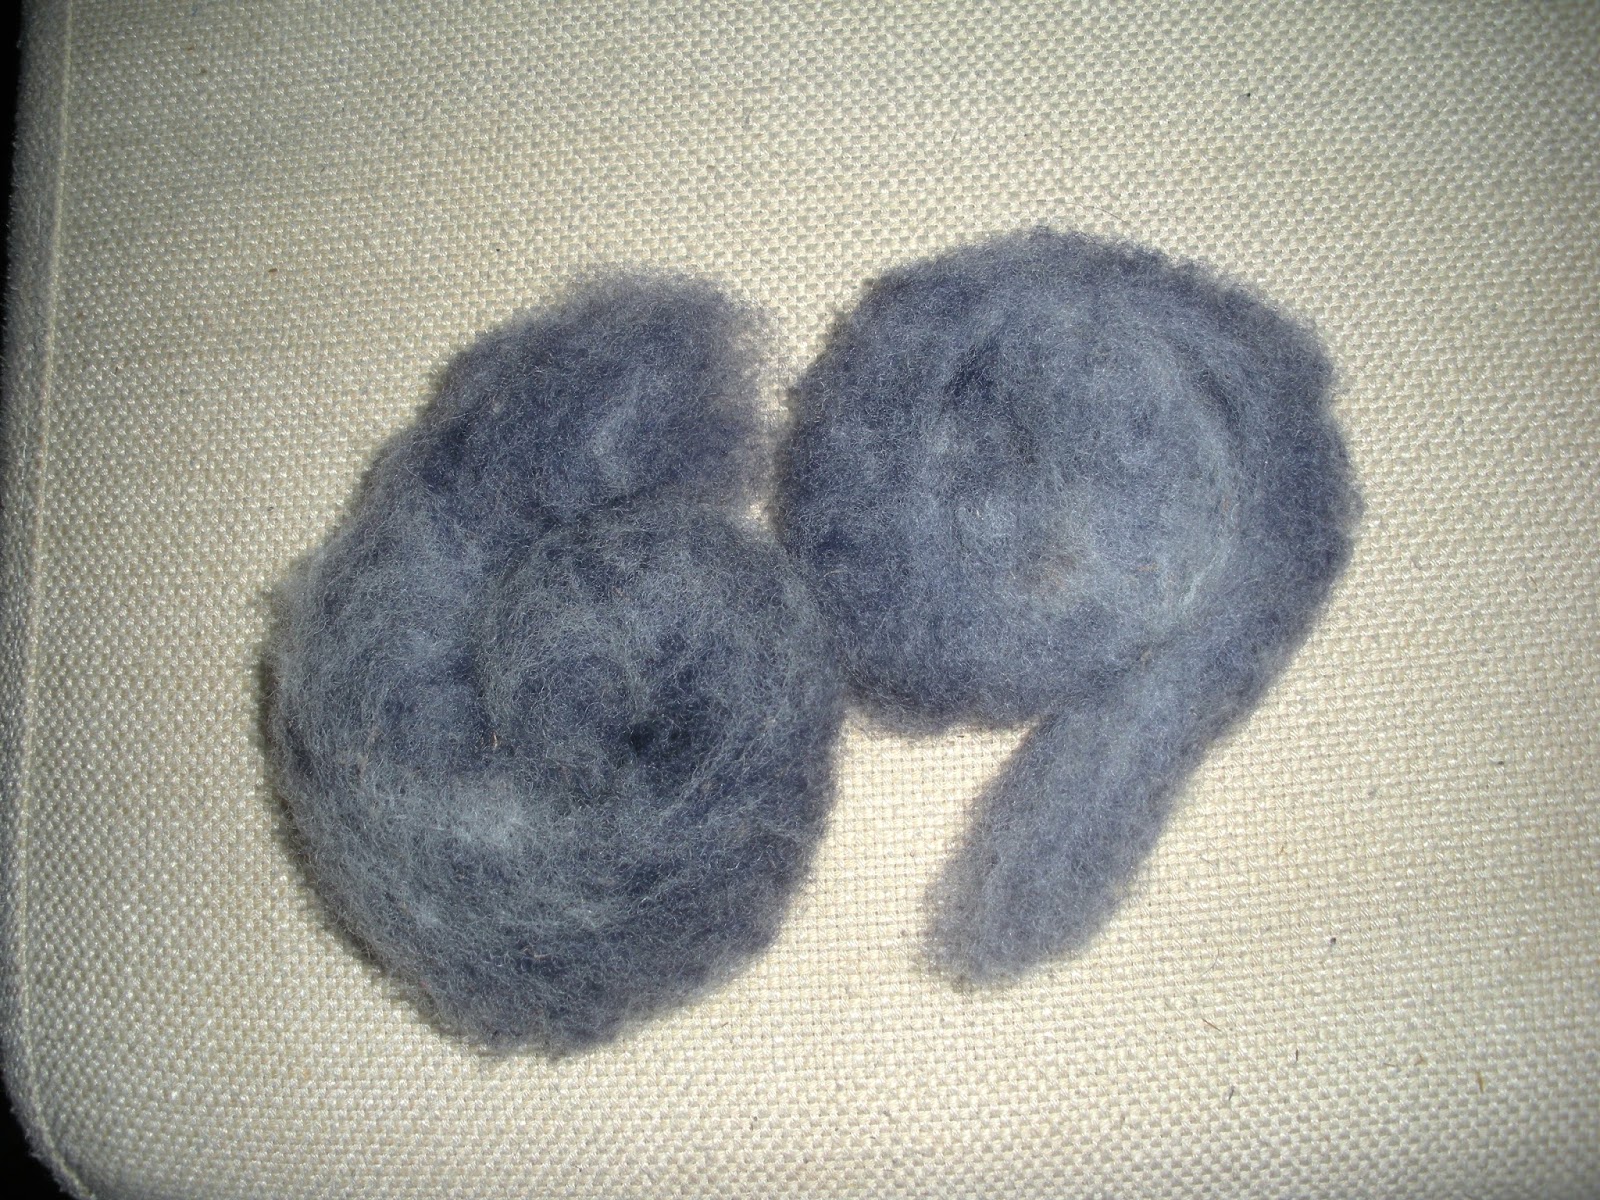
As you may or may not remember, I bought a few ounces of gray angora at the alpaca festival a few months ago. I have heard that angora is so warm and fine that, with few exceptions, it works better when blended with wool. Well, wool is something that I have plenty of for blending.  I pulled out some leicester locks from my seemingly never-ending supply and washed them.

However, I didn't want another off-white yarn. I could have spun it and then dyed it, but I have heard that the dyes might not penetrate all the way into the center of the yarn if you don't dye in the wool (aha, so that's where that phrase comes from!). So, the plan was to dye as much wool as I could fit into one jar a dark green (turns out to be 1.5 oz.) and then fill another jar and dye it turquoise. Well... you can see how the dyeing came out:

Wool being dyed in the jars

Still wet, but pretty similar to the color that the wool ended up
The green dye that I got is much brighter than I was expecting. After I took that picture, I put it back in the dye pot for more green. It got darker, but it is still neon. Part of the problem is measuring the dye. The package instructions say to use 1/4 oz. of dye per pound of wool. If I am dyeing 1.5 oz. of wool that is a very small amount of dye, and I don't have a way to measure it. So I am guessing. On the other hand, the water has been running mostly clear, so I think that means that the dye was almost all taken up by the wool, and I put enough vinegar into the mix. The turquoise is closer to blue, but at least it is a pretty color that I would wear.

Well, not to be deterred, I started blending the wool with the angora on my hand cards. Again, I didn't have a very good way of measuring the mix, so it is only approximate. But I think I am getting better at making rolags (aside from the matted angora balls):
Rolags of green wool and gray angora, blended

It's still a bit bright, but after being mixed with the gray, the wool is a pleasant mint color.
A rolag mixing the green wool with the angora
I, of course, couldn't wait, didn't do any planning, and just started spinning the stuff. It is incredibly soft, but I think it is pretty strong as well. I was so pleased at how fine the fiber was, and how thin I could spin it, that I think I spun it a bit too fine:
wool-angora single, with quarter for size comparison.

My current plan is to make a 4-ply so it will at least be laceweight. At the rate I am spinning though, I'll probably finish by December.  Maybe. And, if a swatch turns out strong, maybe I will make some socks. Though I keep saying that, and I still haven't made socks in years. So this might be clothing eventually. But for now, it is entertaining me at least.
Spinning fine, warm, neon yarn

Sunday, December 11, 2016

Material of the Month: Linen

This month, I will be talking about another natural fiber: linen. Unlike with wool, I don't have much experience working with linen. I haven't ever processed raw flax, and I have only really worked with one linen yarn. But, since I am currently finishing up a linen shawl, I thought it would be a good material for December. I guess I will give my first impressions.

First, and most obviously, linen is a plant-based fiber. It is derived from flax:
A field of blooming flax
Flax is a grass. To make it into linen, you take the 3- to 4-foot-tall plants and dry them. After beating them to remove the seeds, you place them in stagnant or slow-moving water to rot away the outer parts of the plant. You then dry them, crush them, scrape them, and comb them, until they are ready to be spun. As I mentioned above, I have never tried any of this. I might try spinning it at some point, but since I'd have to isolate it from my wool (for religious reasons), it might have to wait until I have a larger place.

Linen is rarely used for knitting, and, after making two projects with it, I can see why. It doesn't stretch at all - whatever the tension you put into the stitch, that is what it will stay, and you will hurt your wrists and fingers trying to get the next stitch in. It doesn't grip itself either, so it will easily slip off needles or pull out into a loop on the fabric. It is stiff too - when you fold it, the stitches will often slide past each other, rather than bending.

Pretty much the worst technique you can use with linen is mosaic knitting - or maybe cables. Because  both require that the stitches stretch out to multiple rows, and be larger after you have already set the tension, attempting to do them with linen will kill your hands. With wool, it will stretch easily, then settle back later, giving texture. With linen, you have to fight the yarn to get it to do what you want.

And this is why I know you should avoid mosaic knitting with linen
Ok, so those are the disadvantages of linen. Why would you ever use it?

Well, first off, the stiffness and un-stretchiness can be an asset in crochet, and definitely are in weaving. Although I haven't tried it, I hear that it is a dream to weave with.

Secondly, when spun wet, the yarn is beautiful, smooth, and soft.
Louet Euroflax yarn
The fabric it creates is light and airy, and feels good on the skin. It is smooth and washes easily. And it becomes more supple as it ages and gets washed. There is a reason that tablecloths and sheets are called "linens." It does tend to wrinkle, so it needs frequent ironing, but it makes good, firm, fabric, especially for summer use.

Speaking of summer use, I did almost finish my linen summer shawl today. Something about the pattern of colors reminded me of a snake, so I called it a snakeskin shawl. I was using big needles with a simple pattern, so it knit up in a little over a month.

Even aside from using three colors in the shawl instead of two, I ended up modifying the pattern pretty heavily. It was supposed to be a right-triangle shawl, where you knit from one corner, growing by a stitch every other row, until you are knitting the entire other side of the shawl. But it was getting too wide for me - I wanted something a bit more scarf-like. So I added a SSK decrease to the rows that were supposed to be growing, and turned it into a crescent shawl. I also added a black border at the neck to make it more sturdy.

Ok, one more thing about linen. It is really important to block it, because the stitches need to be evened out and "wrinkled" so that they will stay in the places you put them. So that is what I did today.

Snakeskin shawl, pre-blocking:
Notice how the elongated stitches are not lying flat before wet-blocking
And wet and pinned to a towel for blocking:
The end of the shawl where it "grew" every other row
The end of the shawl where I added the extra SSK

Sunday, November 27, 2016

Technique: Stranded Knitting

I haven't started yet, but coming up, I will be doing blue detail work on the shawl with stranded knitting. It's been awhile since I used that particular technique, because I usually prefer my work to look good on both sides (and I hate the way stranded knitting looks on the back). But, this piece of the shawl will be sewed so the back doesn't show. Time to review tips!

While I was home for Thanksgiving, I hunted around for old pieces that I didn't have pictures of so that I could show you all some early attempts. It's always nice to see how far you have come. Actually, both things I found were hats with stranded knitting that was too tight. I made both in high school.

First up, a hat made from a vintage pattern, from before I had any style:
Pattern from Jill C. Weiner: Side view
Back view
I vaguely remember picking the pattern because it was one of the ones that the book listed as "hard" and I wanted to challenge myself. Except for being an ugly pattern, it came out mostly ok, and has improved over time as the yarn stretched. However, at the time, I did not know how to do stranded knitting at all, and the hat has very long floats on the pink squiggly in the middle (as well as being too tight in that section). First tip: be sure to carry the non-working yarn along with you by twisting it with the working yarn every 3 to 4 stitches. This ensures short floats on the back that won't snag so easily.

Ok, second example. In high school, I made a bunch of berets from a basic pattern I had. Once, I decided to make it fancy by adding stranded colorwork of my own design:
A beret of my own design, from high school
Well, the pattern came out ok, and I would do it again -- though that light blue really clashes with the other colors: what was I thinking? However, although I carried the non-working yarn this time, I made it far too tight, and the beret puckers up, and won't lie flat. The shape is really weird. So, second tip: Make your floats twice as loose as you think they should be. Better too loose than too tight. 

Well, getting into college, I tried again. This time, for a Valentine's Day gift swap:

Heart hat
 The knitting is plenty loose, but this time I made a different error: I assumed that knit stitches are square. I drew hearts on graph paper and transferred the pattern faithfully to the hat. But, since the stitches were rectangular, my hearts came out far too wide and ended up looking like bats. So, third tip: if making your own pattern, account for the fact that knit-stitches are rectangular. There are three different ways to account for this. The hardest is to knit a swatch and measure it. Use the number of stitches per inch both horizontally and vertically to see how your pattern will stretch, and compensate. The other options are to buy knitting pattern graph paper at a knitting store, or to use a program like I do now, which automatically stretches the pattern after you have sketched it.

Ok, final example. I really haven't used the technique much, so this is what I have:
A hat made on commission for a co-worker
This one came out looking great, actually (though I made a rolled-brim hat for a guy, for some reason). The only thing was that off was that, because I made the hat in the round, I had to float the red across the entire back of the hat. So, final tip: if you are only putting the pattern on one part of the piece, do flat knitting and do intarsia instead.


Sunday, November 13, 2016

Alpaca Festival Report

Festival report time!

Alpaca
This year was my first time going to the Maryland Alpaca and Fleece festival. Maryland Sheep & Wool is much better known, but it is in the spring, and I missed it this year. I needed a bit of a break from the news, so I went with my mother-in-law. It is held in the same place as MD S&W, but it is a tenth the size. There were a few alpacas in pens scattered between the 5 buildings, and a bunch of people selling alpaca clothing, yarn, and fiber. There were also plenty of non-alpaca yarns and fibers.

There were also a ton of adorable alpaca dolls and ornaments

I swore going in that I would avoid buying any alpaca if I could avoid it, because I have 3 lbs of alpaca roving and 4 skeins of yarn already. Shockingly, despite the multitude of temptations, I kept  this, though I never promised not to touch it or rub it against my cheeks.

A lot of the vendors dyed their own yarns. Looking at all of it made me realize how much white fiber I have at home, and inspired me to buy some dyes. Look forward to reports about more fiber coming out of my dye pot in the future.

Braids of hand-dyed BFL and Superwash merino gradient top
Along with the dye (bought from Sheepish Creations) I also got some new unprocessed fiber. First, the good folks at The Spinning Loft talked me into getting a few ounces of  Ryeland wool.

The Spinning Loft had a wonderful selection of fleece and roving from different breeds of sheep
It seems to be a completely different type of wool than I have ever processed before, so I am looking forward to playing around with it. Unfortunately, it currently has an incredibly overpowering smell of licorice. I'm hoping that will go away after I scour the stuff.

A lock of the unwashed ryeland. It seems to be quite corse and kinky, with a short staple.
I am soaking the ryeland fleece now to get out the dirt before scouring.

24 hour cold soak in a bucket before scouring
Finally, I got some raw angora. Spinaway Farm had two angora rabbits in their festival booth:
Not a great picture, but I promise: those are rabbits and not tribbles.
The fiber was incredibly soft. I hear that it is better to blend it with wool or other fibers, or it will be too warm, but I haven't decided what I will blend it with yet. I got 2 ounces in soft gray.

Soft and fluffy angora fiber

Sunday, November 6, 2016

Material of the Month: Wool

Today, I am starting a new feature here on the blog: material of the month. Each month, I will try to talk about some of the features and advantages (as well as the downsides) of a different material I have worked with. I guess we'll see how long I can keep it up until I run out of materials.

So, to start: wool.


Wool is a natural fiber (naturally) and has been used since ancient times to make cloth and textiles. Traditionally, wool was a warm but rather rough material, good for outer-wear like sweaters and coats, or hard-wearing textiles like rugs and tapestries.

However, starting with Merino sheep in the 18th Century, breeds with softer wool have been developed that produce wool without that prickly feeling. When the breed was first developed by the Spanish, Merino sheep were highly prized and nearly impossible to get if you weren't royalty - historical novel writers take note: soft wool was not really a thing that average people had access to.

Today, of course, merino wool is quite common, and is usually the only breed that will be identified by name if you are buying wool yarn. It is very soft and squishy, but knitters beware: it lacks the strength of other types of wool, and should be avoided when making socks, pants, rugs, or anything else that will take a lot of wear.

I will try to talk about other specific breeds in later posts, but today we are talking about wool in general.

Unlike cotton or linen, wool has a natural elasticity. First, because the individual fibers will stretch, and second, because most wool is a bit kinky or curly, and that will translate into the yarn. This stretchiness makes it easy to knit or crochet with, and is easy on the wrists.
Two locks of fine wool

Wool also has a natural ability to "grip" other wool, due to its texture at the microscopic level. This ability is most obvious when you felt or full it: the fibers interlock so that they can't be easily separated. But it also comes into play when spinning, as it doesn't take much to make the wool adhere to the leader or to make a join. This also means that, unlike some other fibers (cotton, alpaca) wool fabric will not "grow" over time under its own weight. Instead, changes in temperature and humidity will gradually, lightly felt the wool so that it keeps its shape indefinitely.

I don't really do felting, but here is a lopi hat, lightly fulled in a dryer so that it loses stitch definition.
To summarize: warmth, elasticity, and ability to grip and felt are some of the reasons why wool is the go-to material for knitters and crocheters (I'm ignoring synthetics, for now). It also takes dye very well, and most modern sheep are white, making it particularly easy to get yarn in whatever shade you want. Wool is also pretty inexpensive (at least in the U.S.), rivaled only by acrylic yarns.

All that said, there are some well-known disadvantages to wool as well.  First, as I alluded to above, there is a trade-off between softness and strength. In order for wool to be strong and take a lot of wear, it needs to have thicker fibers, and those tend to be less soft and more prickly. Second, it is hard to wash. That amazing ability to felt means that hot water and agitation will cause your garments to... shrink and felt. You can buy "super-wash" wool that does not have this problem (due to chemical treatments of various kinds) but it will not have that gripping advantage, and won't block very well.

Finally, wool's warmth can be a disadvantage in the summer or in warmer climates. It does wick moisture well though, so you can sweat a lot in wool without it even feeling wet if you wanted to go hiking in wool socks. That wicking can also be a disadvantage though - wet wool can hold a lot of water, making it very heavy to wear in the rain, and it will take forever to dry.

Sunday, October 30, 2016

Linen and Woolen

Always exciting to start a new project.

I was looking for something to knit on the train while I spin up some more yarn for the shawl this week, but I was uninspired as to what to make (I didn't want to make for myself, and my family has all of the hats and scarfs that they need). So I posted to Facebook: the first person to respond would get a custom hand-knit item.

A local friend requested a summer shawl, and (after a quick discussion) indicated that she preferred linen to bamboo or cotton. So I am breaking out the linen yarn that I last used on that mosaic hat and making a loose shawl.

The pattern I chose is the Van Goch Shawl by Tall Tree Designs. It looks pretty simple, and I think it will look good in three colors. Crucially, I can pretty much stop when I run out of yarn - no careful measuring required. I don't want any leftovers if I can avoid it, since the linen won't mix well with anything else.

First step was three gauge pieces, done with needles sized 8, 9, and 10 (American). I followed the pattern, minus the parts that make it triangular, to get a sense of how it would look.

Differences are more apparent when they are stretched out a bit
I decided to go with size 9. Unfortunately, I didn't have any circular needles in that size, so I went to my LYS (Second Story Knits in Bethesda, MD). They were only selling interchangeable needles, so I got my first pair (and my second - I didn't have good 8's either). They are fine, but I really am not sure at all that they are worth the extra cost - I rarely find that the length of the cable matters, so I don't see the point of having interchangeables.

The summer shawl is started though, and I am pretty pleased so far. The pattern is easy, and the shape is looking good.

Summer shawl with linen
I have also been getting some spinning done, so I might as well update you all on that as well. I made an Andean plying bracelet from the carded waste wool singles I mentioned last week:
A half-finished Andean plying bracelet, with tools of the craft in the background 
And finished plying off of it. The small finished skein is hanging to dry over my shower-head right now. I'm waiting to see how much it puffs out, but here is a pic from before it was wet-finished:
A nice woolen yarn
There is something to be said for handspun that looks like handspun (without being too uneven, that is).

Monday, October 24, 2016

Three Fiber Preps: Mill Combed, Flicked, and Hand-Carded

Just a quick update this week. I continue to work on the shawl, but I have run into a bit of a snag. I have finished 9 repeats of the the pattern (32 rows each) and I have enough yarn for another repeat. But the shawl is not nearly long enough: It needs another foot or so before it is a wearable length. So I am going back to the spinning wheel, and spin more yarn. I can't do this on the metro though, so I will have to start another portable project soon. Stay posted for more on that when I decide what I am making.

Meanwhile, I have been on a bit of a spinning binge. Once I had dyed the locks I immediately wanted to see what they would look like as yarn. But I wanted to spin it to match the rest of the shawl, so I had to do it on my Ashford wheel (maybe not, but I wasn't risking it). Unfortunately, my Ashford was occupied with the black merino bulky yarn I have been working on (and off) since June.

Aha! Motivation to finish it!

2-Ply Bulky Merino Yarn
The yarn was prepped from some yummy (and surprisingly cheap) merino top (mill-processed) that was being sold by the ounce by Delly's Delights Farm at Maryland Sheep and Wool. This skein came out more even and squishy than the blue one, so I think I actually learned something. It's always nice to have some evidence of improvement.

Once my wheel was clear, I could start on the hand-dyed blue yarn for the shawl detailing. I started by flicking the locks - a few locks of blue with a few undyed.

Dyed and undyed locks for flicking
To flick, I wrapped about half of the lock around my fingers and brushed it with the flick carder. There was a lot of VM, so I had to do a lot of brushing to get it all out (and even so, I missed some). I started with the butt, then did the tips the same way.
Wrapped and ready to flick
After flicking
As you can see, the process really opens up the locks.

I also got a LOT of VM all over my cloth, my pants, and the floor. This sheep was a pet, and wasn't coated - I am pretty sure it liked to roll around in mulch. I wasn't too careful with the washing either, so there was also a lot of waste. It was hard to grip the lock while still getting all of the VM out, and the lock structure wasn't well-preserved.

Because there was so much waste, and it had a lot of pretty serviceable wool in it, I carded and blended the waste into rolags, and am spinning it into some thicker, textured yarn now.
Waste from the flick carding
Rolags carded from the waste wool. I like the periwinkle color, but there is still too much VM.
Well, the flick carding didn't actually blend the colors any, despite my hopes, so the flick carded yarn is "barber-poled" to get a lighter look. I think it will still look good knitted up. It is hanging to dry now.
Hand-dyed, hand-spun yarn from the fleece
The carded prep is making a nice periwinkle yarn though.
Hand-dyed, hand-spun yarn from the fleece
It goes to show, though, how much difference the fiber prep can make to the final yarn.