header picture

header picture
Showing posts with label colors. Show all posts

Sunday, July 1, 2018

Entrelac


Currently working on a scarf using entrelac, so I think I will talk about entrelac today.

Entrelac means "interlaced" French. It is a technique that can make a very nice "woven" texture if done tightly, and a pleasing checkerboard if done loosely. But I'm not going to teach how to do it here. There are much more qualified teachers online, and I encourage you to find either a video or written description and try it out.

Here I am going to talk about two things: how entrelac is a great technique to play with colored yarns, and the importance of learning backwards knitting if you want to do very much of it.

I have done a few projects using entrelac. The first one I tried was a large triangular shawl in 2012. The nice thing about doing a triangle with entrelac is that you don't have to do the side triangles, so there are almost no short rows. I knit it loosely, starting with 25 squares of 10 stitches each. There wasn't much of the entrelac texture, but I liked the checkerboard pattern it made.

Entrelac shawl from 2012 in black and blue
My friend modeling the shawl
I made the shawl with sock yarn on size 6 needles. Notice how the technique is a good way to highlight a variegated yarn with short color changes. The solid color makes the variegated color pop, and the small squares allow you to have color pooling in a large project.

I also made an entrelac tam with a similar set of yarns, although this was knit tighter, and with thicker yarn:
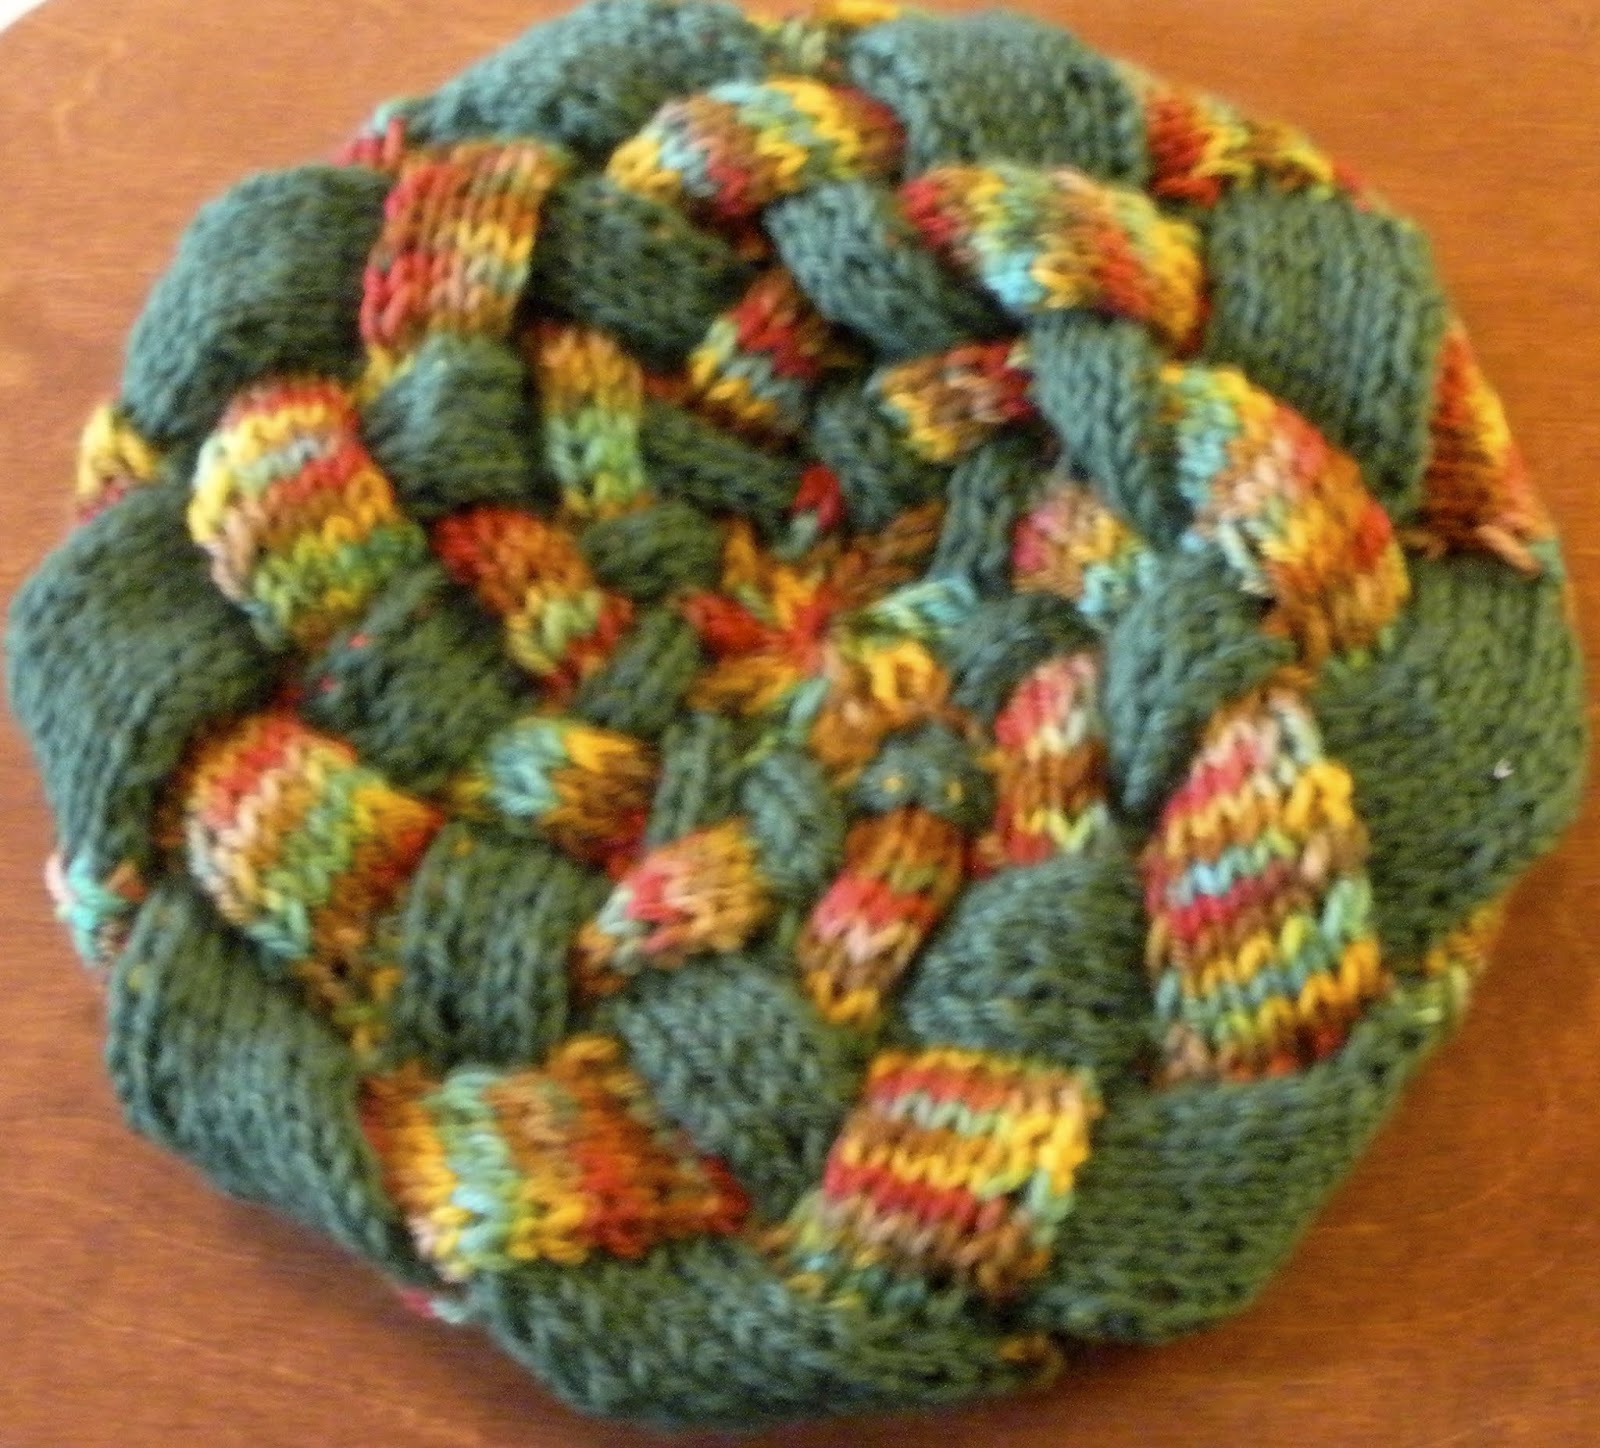
Entrelac tam in green and multicolor
Notice that with the smaller needles relative to the thickness of the yarn there is a significantly tighter knit, and that the interlacing is more pronounced. But again, alternating between squares of a solid color and a multi-color yarn with a short repeat highlights the multi-color nicely (even if, as in this case, the yarn has so many colors it might derisively be labeled "clown barf").

I also made a similar hat without the solid color.
Entrelac tam in shades of blue
This time, although the texture similarly comes through due to the tight knitting, the variegated yarn by itself confuses the eye. It is no longer so clear that it is an ordered interlace. I also want to highlight that this is a slightly longer color repeat, so that most squares are pools of one or two shades, rather than the hodgepodge of the previous yarn.

One final tam. This one was made with only solid colors.
Entrelac tam in black, green, blue, grey, and white (side view)
This one highlights that entrelac is a great vehicle for scraps. The solid colors make the patterning really clear, but it looks less like weaving than when you alternate between two colors.

Finally, we get to my current project. This is the first project where I had to do the side triangles (since the hats were knit in the round), and I was dreading it a bit. Turned out to be pretty easy to pick up if you are already familiar with entrelac. I was glad that I did a triangular piece first, though.

The current iteration is actually my 4th attempt to make this scarf. I started it in April with my own pattern that I wrote. It was essentially a basket-weave, but at a slant so that the scarf would be a trapezoid instead of a rectangle.
Scarf: first attempt
I was making it for my husband with a gradient yarn I spun on the wheel. I call it a gradient, but while it continually changes colors, there is some repetition, rather than just gradually going from one shade to another. But then I put it down to make the baby blanket and the baby blocks.

Even before I put it away I was not too fond of how it was coming out. The pattern turned out to be a lot of work to keep track of, but you could barely even see it with the color changes. And it was tight on the edges, so that it wouldn't be stretchy like you want in most knitted garments. But coming back to it a few weeks ago, I could finally let go and frog it.

Sometimes, you see something coming out badly, but you don't want to change course because you have already put so much effort into it. But when I came back, I realized that it was even worse than I thought before, and I had an easier time forgetting all of the earlier work. So I ripped it all out and started anew with a new pattern. I thought that entrelac would be a great way to highlight the gradient of a long change variegated yarn.

At first I cast on 25 stitches, for 5 squares of 5 stitches each. After a few rows of it, I realized it was going to be way too wide, so I started over. This time, with 20 stitches, for 4 squares of 5 stitches each.
Scarf: third attempt
It was coming out really nicely, but it was still a bit wide. That might have been ok, but I was running out of yarn (I weighed, and my scarf was going to only be 18 inches long).

Finally, I settled on 16 stitches cast on, for 4 squares of 4 stitches each:
Scarf: 4th attempt
Hopefully, this is my final version, though it will still be a bit short. This process though has really highlighted how different entrelac can come out based on the colors of the yarn and the size of the squares. Even though it is the exact same yarn, because the squares are different sizes, the scarf has a bit of a different feel each time I do it again.

You may have noticed that a square of four stitches means that with regular knitting I would have to be turning the work every 15 seconds. Luckily, I have learned backwards knitting of a sort. That means that instead of turning the work and knitting, I just start going the other way. It is great for entrelac or short rows, but works for any kind of pattern. I backwards knit or backwards purl, but switching between them is not very fast, so I don't use this technique for ribbing or seed stitch.

I thought I would try something new today though. Here is a video of me knitting forward, then backward. I figured it would be easier than trying to explain it in words or even pictures.


If you are wondering, yes, there was a baby in my lap for filming.


Monday, October 24, 2016

Three Fiber Preps: Mill Combed, Flicked, and Hand-Carded

Just a quick update this week. I continue to work on the shawl, but I have run into a bit of a snag. I have finished 9 repeats of the the pattern (32 rows each) and I have enough yarn for another repeat. But the shawl is not nearly long enough: It needs another foot or so before it is a wearable length. So I am going back to the spinning wheel, and spin more yarn. I can't do this on the metro though, so I will have to start another portable project soon. Stay posted for more on that when I decide what I am making.

Meanwhile, I have been on a bit of a spinning binge. Once I had dyed the locks I immediately wanted to see what they would look like as yarn. But I wanted to spin it to match the rest of the shawl, so I had to do it on my Ashford wheel (maybe not, but I wasn't risking it). Unfortunately, my Ashford was occupied with the black merino bulky yarn I have been working on (and off) since June.

Aha! Motivation to finish it!

2-Ply Bulky Merino Yarn
The yarn was prepped from some yummy (and surprisingly cheap) merino top (mill-processed) that was being sold by the ounce by Delly's Delights Farm at Maryland Sheep and Wool. This skein came out more even and squishy than the blue one, so I think I actually learned something. It's always nice to have some evidence of improvement.

Once my wheel was clear, I could start on the hand-dyed blue yarn for the shawl detailing. I started by flicking the locks - a few locks of blue with a few undyed.

Dyed and undyed locks for flicking
To flick, I wrapped about half of the lock around my fingers and brushed it with the flick carder. There was a lot of VM, so I had to do a lot of brushing to get it all out (and even so, I missed some). I started with the butt, then did the tips the same way.
Wrapped and ready to flick
After flicking
As you can see, the process really opens up the locks.

I also got a LOT of VM all over my cloth, my pants, and the floor. This sheep was a pet, and wasn't coated - I am pretty sure it liked to roll around in mulch. I wasn't too careful with the washing either, so there was also a lot of waste. It was hard to grip the lock while still getting all of the VM out, and the lock structure wasn't well-preserved.

Because there was so much waste, and it had a lot of pretty serviceable wool in it, I carded and blended the waste into rolags, and am spinning it into some thicker, textured yarn now.
Waste from the flick carding
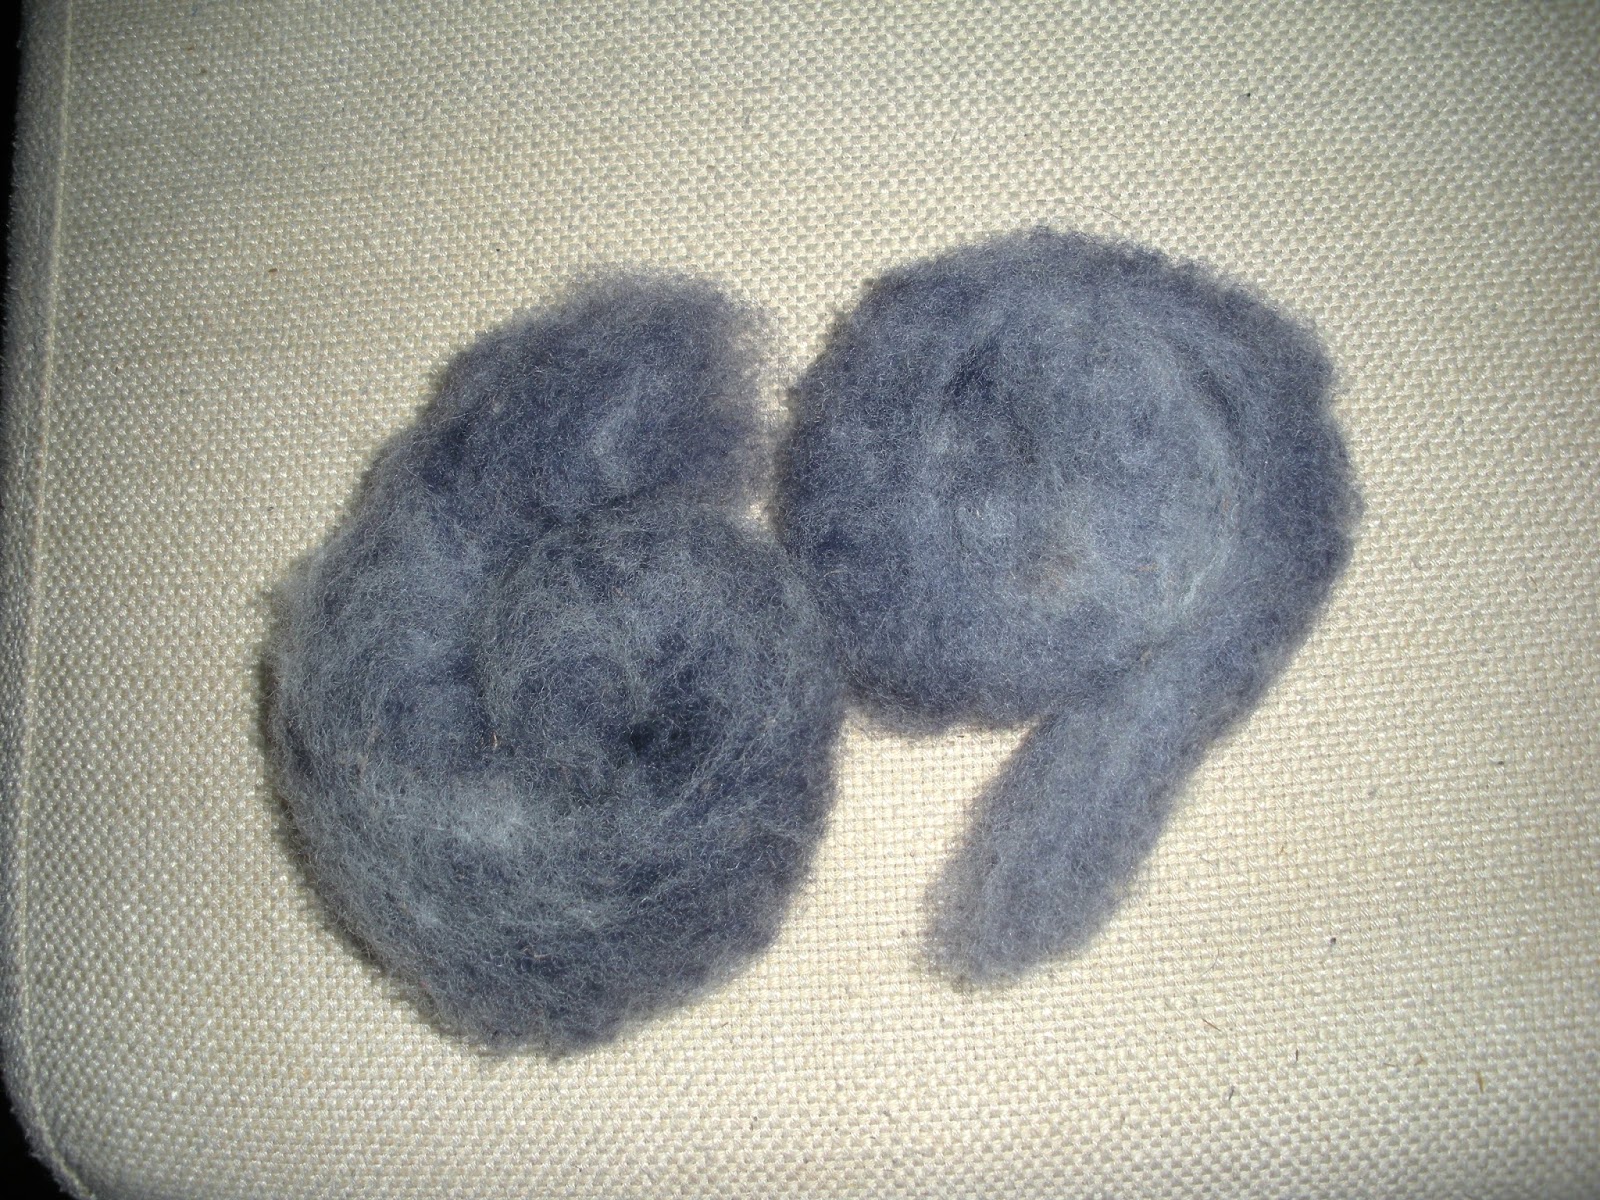
Rolags carded from the waste wool. I like the periwinkle color, but there is still too much VM.
Well, the flick carding didn't actually blend the colors any, despite my hopes, so the flick carded yarn is "barber-poled" to get a lighter look. I think it will still look good knitted up. It is hanging to dry now.
Hand-dyed, hand-spun yarn from the fleece
The carded prep is making a nice periwinkle yarn though.
Hand-dyed, hand-spun yarn from the fleece
It goes to show, though, how much difference the fiber prep can make to the final yarn.

Sunday, June 19, 2016

Color Transitions

Well, it's been awhile. I started a new job, and my commute is much longer. So, less time to write blogs. But more time to knit and spin!

I have been getting a lot done on my skirt:
Beach skirt: if I finished it today, it would go just below my knees
I finished up the darker blue part, and started on the purply-gray. As I mentioned before, I had originally planned on just using two colors, but a last minute substitution was necessary.

I am using a pretty simple pattern for the purple part: plain stockinette, punctuated by wavy-lines made out of purl stitches. I will show you all a picture when I finish a repeat (I ripped out my test).

The question was how to transition between the two patterns and the two colors. The first option (a) was simply to stop doing the blue and start the purple with the new pattern. The second option (b) was to start the purple, but continue the herringbone pattern for a bit. The third option (c) was to start the purple, but to do a k3 slip 3 pattern for a few rows, making a wavy line at the edge. Well, I tested all three options:
From left to right, option (a), (c), and (b) 
And I really liked how option (b) looked. It seemed to create the smoothest transition between one color and the other. I ended up doing seven rounds of the herring-bone pattern with the purple before switching to the new pattern.

Close-up of the transition
I'm also liking how the purple and gray are blending in while I knit it up. I was somewhat afraid of pooling.

Well, maybe the next time I talk about this project, it will be finished or close to it. Maybe.

Wednesday, May 18, 2016

Playing with Color

I'm home sick today with a bit of a cold, so I figured I would update you on what I am working on. I haven't been in much of a knitting mood, but I have been spinning with my spindle like crazy.

I finished a second skein of that brown Navajo-Churro yarn. It is a tiny bit lighter than the first skein - oops!  Guess I should have sorted the blond wool into the rest more evenly. I will have to treat them like different dye lots, which will mean alternating rows when I knit them.

Besides that, though, I finally managed to finish spinning up the whole pound! That was the first wool I bought that I took all the way from washing to yarn, and I got through it. It only took me...(checks records)... two years. And I still haven't knit the undercoat into anything. Well, no one ever said that hand spinning was a speedy endeavor.

Well, as that was drying on the hanger, I also started a new project with some wool that I bought at the same time. Both are pre-cleaned locks. I am not sure of the breed for the colored wool, but the white was labeled as a lincoln crossbreed from Barnswallow Farms in Dewittville, NY (sorry, no link, she doesn't seem to have a website).
Oooooh. Pretty colors of wool.

Lincoln Crossbred locks
They are both extremely lustrous (that means shiny) and fine, and the locks are a good six inches long.
Individual locks
So, I am making a very fine, fluffy yarn from them. I am not doing much fiber processing, just picking the locks apart and spinning away. This is resulting in a lot of ends sticking out, kind of like a mohair yarn. Hopefully, though, since the wool is a bit less slippery, the "halo" won't grow too much as the fabric is worn. 
Fluffy singles on the spindle
I am also playing around with color. I have quite a bit less of the colored locks than the white, and the colors are a real mix. I could blend them together to get a pale pastel heathered yarn, probably lavender. But why hide that beautiful variety?

Instead, I am alternating locks. I spin 3 to 5 white locks, followed by a colored lock. The plan is for a three-ply yarn. I have no idea what it will look like when I ply, but I'm hoping for an interesting result!
Another view, after doing a lock of purple.
I'll keep you posted.