header picture

header picture

Sunday, October 30, 2016

Linen and Woolen

Always exciting to start a new project.

I was looking for something to knit on the train while I spin up some more yarn for the shawl this week, but I was uninspired as to what to make (I didn't want to make for myself, and my family has all of the hats and scarfs that they need). So I posted to Facebook: the first person to respond would get a custom hand-knit item.

A local friend requested a summer shawl, and (after a quick discussion) indicated that she preferred linen to bamboo or cotton. So I am breaking out the linen yarn that I last used on that mosaic hat and making a loose shawl.

The pattern I chose is the Van Goch Shawl by Tall Tree Designs. It looks pretty simple, and I think it will look good in three colors. Crucially, I can pretty much stop when I run out of yarn - no careful measuring required. I don't want any leftovers if I can avoid it, since the linen won't mix well with anything else.

First step was three gauge pieces, done with needles sized 8, 9, and 10 (American). I followed the pattern, minus the parts that make it triangular, to get a sense of how it would look.

Differences are more apparent when they are stretched out a bit
I decided to go with size 9. Unfortunately, I didn't have any circular needles in that size, so I went to my LYS (Second Story Knits in Bethesda, MD). They were only selling interchangeable needles, so I got my first pair (and my second - I didn't have good 8's either). They are fine, but I really am not sure at all that they are worth the extra cost - I rarely find that the length of the cable matters, so I don't see the point of having interchangeables.

The summer shawl is started though, and I am pretty pleased so far. The pattern is easy, and the shape is looking good.

Summer shawl with linen
I have also been getting some spinning done, so I might as well update you all on that as well. I made an Andean plying bracelet from the carded waste wool singles I mentioned last week:
A half-finished Andean plying bracelet, with tools of the craft in the background 
And finished plying off of it. The small finished skein is hanging to dry over my shower-head right now. I'm waiting to see how much it puffs out, but here is a pic from before it was wet-finished:
A nice woolen yarn
There is something to be said for handspun that looks like handspun (without being too uneven, that is).

Monday, October 24, 2016

Three Fiber Preps: Mill Combed, Flicked, and Hand-Carded

Just a quick update this week. I continue to work on the shawl, but I have run into a bit of a snag. I have finished 9 repeats of the the pattern (32 rows each) and I have enough yarn for another repeat. But the shawl is not nearly long enough: It needs another foot or so before it is a wearable length. So I am going back to the spinning wheel, and spin more yarn. I can't do this on the metro though, so I will have to start another portable project soon. Stay posted for more on that when I decide what I am making.

Meanwhile, I have been on a bit of a spinning binge. Once I had dyed the locks I immediately wanted to see what they would look like as yarn. But I wanted to spin it to match the rest of the shawl, so I had to do it on my Ashford wheel (maybe not, but I wasn't risking it). Unfortunately, my Ashford was occupied with the black merino bulky yarn I have been working on (and off) since June.

Aha! Motivation to finish it!

2-Ply Bulky Merino Yarn
The yarn was prepped from some yummy (and surprisingly cheap) merino top (mill-processed) that was being sold by the ounce by Delly's Delights Farm at Maryland Sheep and Wool. This skein came out more even and squishy than the blue one, so I think I actually learned something. It's always nice to have some evidence of improvement.

Once my wheel was clear, I could start on the hand-dyed blue yarn for the shawl detailing. I started by flicking the locks - a few locks of blue with a few undyed.

Dyed and undyed locks for flicking
To flick, I wrapped about half of the lock around my fingers and brushed it with the flick carder. There was a lot of VM, so I had to do a lot of brushing to get it all out (and even so, I missed some). I started with the butt, then did the tips the same way.
Wrapped and ready to flick
After flicking
As you can see, the process really opens up the locks.

I also got a LOT of VM all over my cloth, my pants, and the floor. This sheep was a pet, and wasn't coated - I am pretty sure it liked to roll around in mulch. I wasn't too careful with the washing either, so there was also a lot of waste. It was hard to grip the lock while still getting all of the VM out, and the lock structure wasn't well-preserved.

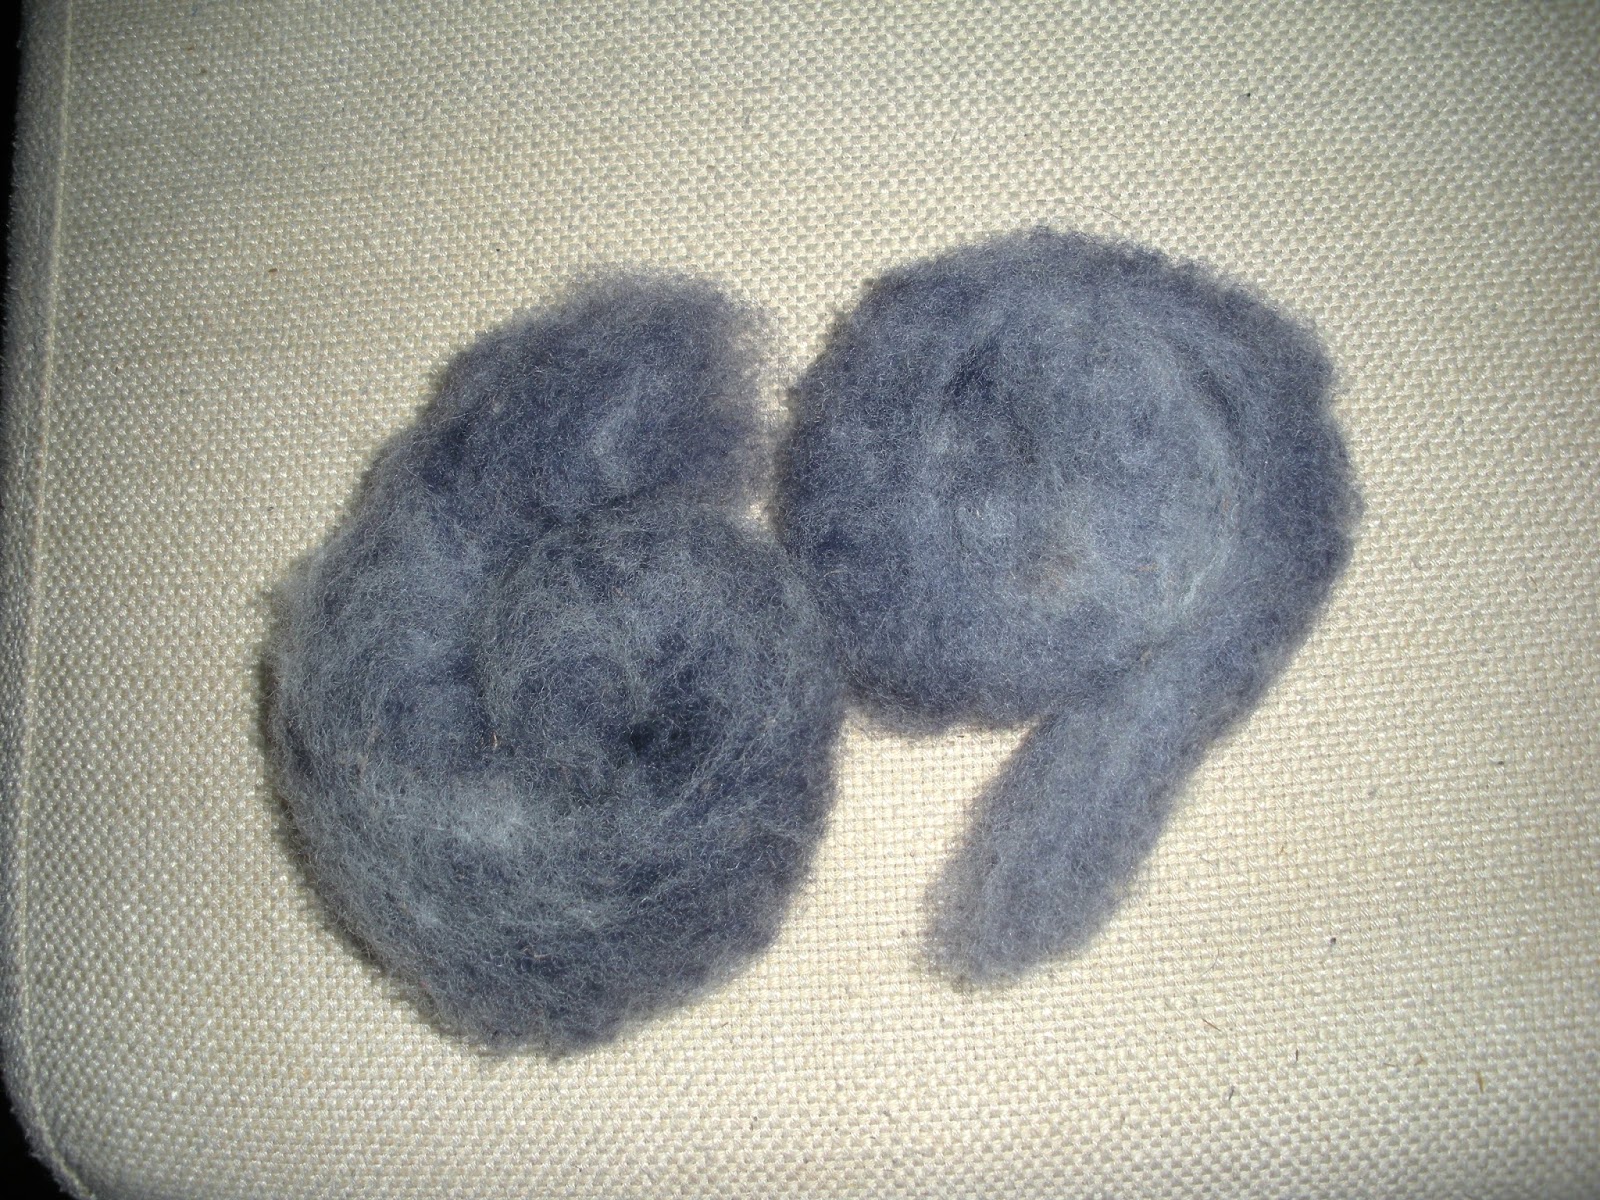
Because there was so much waste, and it had a lot of pretty serviceable wool in it, I carded and blended the waste into rolags, and am spinning it into some thicker, textured yarn now.
Waste from the flick carding
Rolags carded from the waste wool. I like the periwinkle color, but there is still too much VM.
Well, the flick carding didn't actually blend the colors any, despite my hopes, so the flick carded yarn is "barber-poled" to get a lighter look. I think it will still look good knitted up. It is hanging to dry now.
Hand-dyed, hand-spun yarn from the fleece
The carded prep is making a nice periwinkle yarn though.
Hand-dyed, hand-spun yarn from the fleece
It goes to show, though, how much difference the fiber prep can make to the final yarn.

Sunday, October 9, 2016

Dyeing for the first time

Whelp, I did some dyeing. I know I said that it was too messy and I wouldn't do it, but my shawl needed a bit of color, and I was bound and determined to make everything in it from raw fleece. So I bought a small amount of acid dye (enough to dye 4 lbs of wool, the smallest amount they sold) and did a bit of dyeing today. I am currently waiting for it to dry so that I can find out whether or not it felted.

First, I started with a small amount of wool. I scoured 2 oz using dish soap, ammonia, and vinegar (just like I did for the rest of the shawl). The tips were still crusty, but flicking should deal with that when I spin.
Dry leicester wool, ready to dye
I took about an ounce and made sure it would fit in my "dye pot": a mason jar.
Measuring out an ounce of wool
Next, I soaked the wool in warm water for an hour, to make extra sure that all of the soap was out.
Soaking the wool
I mixed a small amount of dye powder with water in the mason jar while the wool soaked. Unfortunately, I didn't have any way of measuring the tiny amount of dye I would need for only an ounce of wool (the directions call for 1/4 ounce of powder per pound of wool). So I guessed the amount. Maybe I should have bought something to measure? I did get a dust mask though - the dye powder can be hazardous!

I filled the mason jar halfway with hot water from the tap before putting in the wool. I didn't want to agitate the wool by filling up the jar with it in there.
Jar filled with dye
After adding two tablespoons of vinegar to set the dye, I cooked the wool in a double boiler for an hour, making sure that the water never got hotter than a simmer. Occasionally, I would turn the wool over with a chopstick.
Cooking the wool and dye
I must have put it the right amount, because the water was almost entirely clear when I pulled the wool out, and the rinsing required was minimal before no more dye came off the wool.

I set it to dry on some newspapers. It's a bit darker than I was going for (though we will see how it looks when it finishes drying) but I can always mix it with the undyed wool for a lighter color. Well, how do you think it looks?

Wet, dyed wool locks