Sigh. Started another project without much thought or advance planning. Then I (rather foolishly) told the Maryland State Fair that I would be submitting it for judging. So now I have a bit less than three weeks to finish it.
All that said, it is coming along beautifully. It is a lace shawl, and I am actually following a pattern (no really, the only change is to the yarn. Well, and the needle size. But, the rest, I swear, is following the pattern). The pattern is Ilo, by Heidi Alander. It is a two-color, triangle lace shawl using something akin to the feather and fan stitch.
For my main color, I used some rough handspun. I spun from the lock, and I mixed mostly white lincoln wool with colored mohair locks in pink, purple and blue. It came out quite pastel. You can read more about it here, here, and here.
Mohair locks
Lincoln locks
Singles yarn on the spindle
Pastel yarn in the skein
For my contrasting color, I used a gray yarn that has been sitting in my stash for awhile. It is either laceweight or cobweb weight, and I once made a lace shirt out of it.
Fine gray yarn
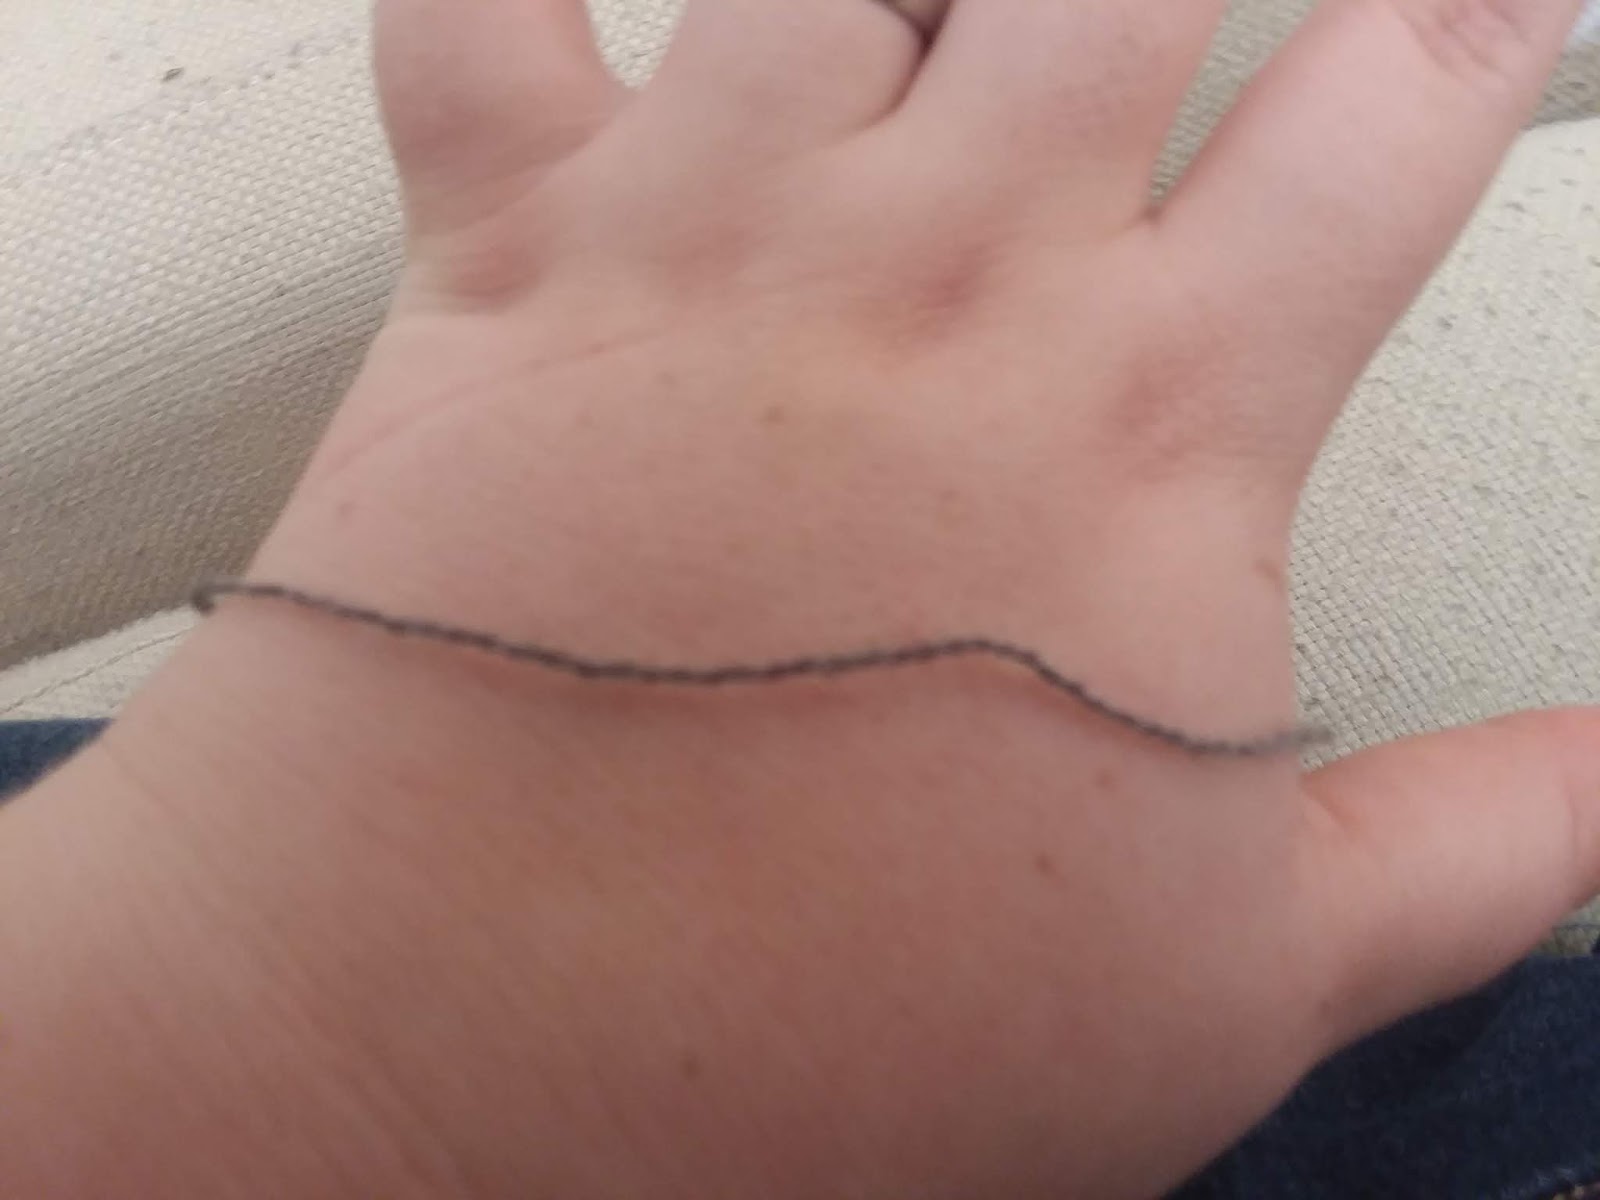
It is a mystery yarn, since I bought and balled it before I documented every purchase on Ravelry. I think I bought it in college though, and I know that I got it from a vendor at the science fiction convention Arisia. It feels like wool. It is VERY fine, and quite delicate. I am doubling it for this project, to more closely match the weight of the other yarn.
Yarn across my hand, for scale
So, the project started out well.
Beginnings of the shawl, with balled yarn
I was a little worried that because the shawl is a triangle, the blocks of color would look odd: early on, the blocks would be large, but later they would be narrow. So far though, that hasn't happened. It looks fine, I think.
Current state of the shawl, as of Aug 5th
What has happened is that I have discovered that one of the balls of the gray yarn has gotten damaged. I don't know what caused it, but there are many breaks in the yarn. This means that I have to splice a new thread every row or two. An unpleasant surprise, to be sure, but not insurmountable.
Well, since I have some baby-free time today, I should be knitting, not blogging! Off I go.
Currently working on a scarf using entrelac, so I think I will talk about entrelac today.
Entrelac means "interlaced" French. It is a technique that can make a very nice "woven" texture if done tightly, and a pleasing checkerboard if done loosely. But I'm not going to teach how to do it here. There are much more qualified teachers online, and I encourage you to find either a video or written description and try it out.
Here I am going to talk about two things: how entrelac is a great technique to play with colored yarns, and the importance of learning backwards knitting if you want to do very much of it.
I have done a few projects using entrelac. The first one I tried was a large triangular shawl in 2012. The nice thing about doing a triangle with entrelac is that you don't have to do the side triangles, so there are almost no short rows. I knit it loosely, starting with 25 squares of 10 stitches each. There wasn't much of the entrelac texture, but I liked the checkerboard pattern it made.
Entrelac shawl from 2012 in black and blue
My friend modeling the shawl
I made the shawl with sock yarn on size 6 needles. Notice how the technique is a good way to highlight a variegated yarn with short color changes. The solid color makes the variegated color pop, and the small squares allow you to have color pooling in a large project.
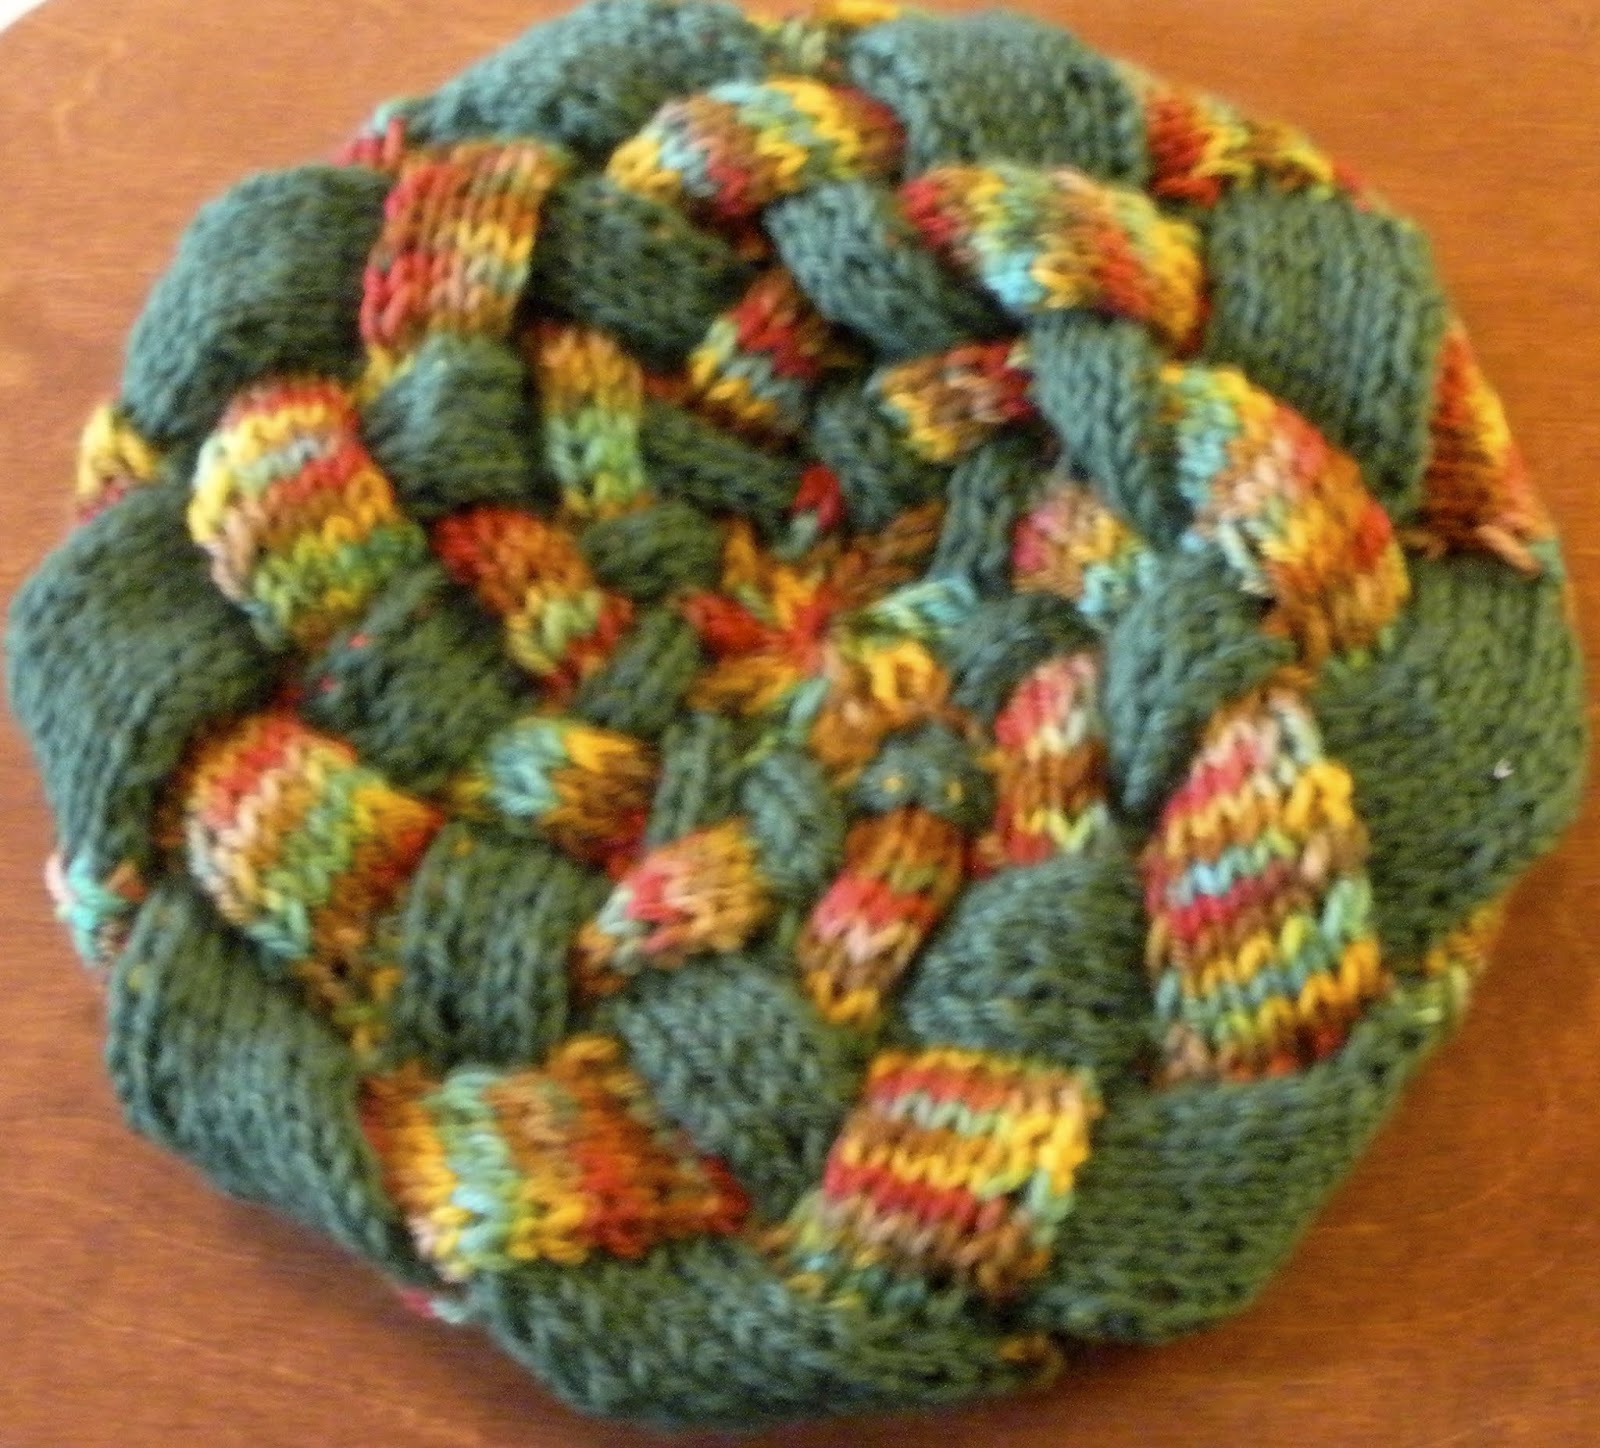
I also made an entrelac tam with a similar set of yarns, although this was knit tighter, and with thicker yarn:
Entrelac tam in green and multicolor
Notice that with the smaller needles relative to the thickness of the yarn there is a significantly tighter knit, and that the interlacing is more pronounced. But again, alternating between squares of a solid color and a multi-color yarn with a short repeat highlights the multi-color nicely (even if, as in this case, the yarn has so many colors it might derisively be labeled "clown barf").
I also made a similar hat without the solid color.
Entrelac tam in shades of blue
This time, although the texture similarly comes through due to the tight knitting, the variegated yarn by itself confuses the eye. It is no longer so clear that it is an ordered interlace. I also want to highlight that this is a slightly longer color repeat, so that most squares are pools of one or two shades, rather than the hodgepodge of the previous yarn.
One final tam. This one was made with only solid colors.
Entrelac tam in black, green, blue, grey, and white (side view)
This one highlights that entrelac is a great vehicle for scraps. The solid colors make the patterning really clear, but it looks less like weaving than when you alternate between two colors.
Finally, we get to my current project. This is the first project where I had to do the side triangles (since the hats were knit in the round), and I was dreading it a bit. Turned out to be pretty easy to pick up if you are already familiar with entrelac. I was glad that I did a triangular piece first, though.
The current iteration is actually my 4th attempt to make this scarf. I started it in April with my own pattern that I wrote. It was essentially a basket-weave, but at a slant so that the scarf would be a trapezoid instead of a rectangle.
Scarf: first attempt
I was making it for my husband with a gradient yarn I spun on the wheel. I call it a gradient, but while it continually changes colors, there is some repetition, rather than just gradually going from one shade to another. But then I put it down to make the baby blanket and the baby blocks.
Even before I put it away I was not too fond of how it was coming out. The pattern turned out to be a lot of work to keep track of, but you could barely even see it with the color changes. And it was tight on the edges, so that it wouldn't be stretchy like you want in most knitted garments. But coming back to it a few weeks ago, I could finally let go and frog it.
Sometimes, you see something coming out badly, but you don't want to change course because you have already put so much effort into it. But when I came back, I realized that it was even worse than I thought before, and I had an easier time forgetting all of the earlier work. So I ripped it all out and started anew with a new pattern. I thought that entrelac would be a great way to highlight the gradient of a long change variegated yarn.
At first I cast on 25 stitches, for 5 squares of 5 stitches each. After a few rows of it, I realized it was going to be way too wide, so I started over. This time, with 20 stitches, for 4 squares of 5 stitches each.
Scarf: third attempt
It was coming out really nicely, but it was still a bit wide. That might have been ok, but I was running out of yarn (I weighed, and my scarf was going to only be 18 inches long).
Finally, I settled on 16 stitches cast on, for 4 squares of 4 stitches each:
Scarf: 4th attempt
Hopefully, this is my final version, though it will still be a bit short. This process though has really highlighted how different entrelac can come out based on the colors of the yarn and the size of the squares. Even though it is the exact same yarn, because the squares are different sizes, the scarf has a bit of a different feel each time I do it again.
You may have noticed that a square of four stitches means that with regular knitting I would have to be turning the work every 15 seconds. Luckily, I have learned backwards knitting of a sort. That means that instead of turning the work and knitting, I just start going the other way. It is great for entrelac or short rows, but works for any kind of pattern. I backwards knit or backwards purl, but switching between them is not very fast, so I don't use this technique for ribbing or seed stitch.
I thought I would try something new today though. Here is a video of me knitting forward, then backward. I figured it would be easier than trying to explain it in words or even pictures.
If you are wondering, yes, there was a baby in my lap for filming.
I know I've been pretty negligent about keeping you up to date on current projects. Partially, that's because I haven't been doing much. But also, once I've started a project and not talked about it for awhile, at some point it just makes sense to wait until it is finished before saying anything. So I will make a nice long post today on something I have been working on since November and just finished up.
After I finished the blanket I was making for our little NEB, I wanted a project that a) was also for the baby, b) wasn't a particular size, c) they wouldn't need right away, in case I didn't finish before they were born, and d) didn't require much thought. I decided to make a squishy toy, but shaping an animal or person doll would require a pattern - too much thought for distracted, pregnant me.
I ended up deciding to make squishy blocks. Cubes wouldn't require much shaping, and I could make as many or as few as I wanted (I ended up making 3, but 1 1/2 were completed after NEB was born). I could make them all garter stitch or stockinette, but that was a little too easy for me, and I thought I would get bored.
So - pattern sampler blocks. This is mostly my own design. Each one started with a 25 stitch cast on size 3 needles. I would do two rows of knit, followed by a pattern of 21 stitches (with two knit stitches on either side). I would continue the pattern until I had a square, then finish with two more rows of knit. I would then switch to another color, and make a similar square with a different pattern. After I had finished 4 squares like that, I would cast off.
Then, because I don't like sewing, I picked up 25 stitches along one side and made another square. On the edges of the square I would pick up stitches along the sides, but I could just have easily seamed it later.
When I had six squares, I stuffed it with wool and sewed it up (a foam cube would probably have been better, but I have a lot of crummy wool available for stuffing). After it was stuffed, I attempted to felt the wool with a hot bath followed by a cold bath. I don't know if it did anything - I was mostly just hoping to make it a little more cube-like.
Well, I'm probably not describing it very well. Here's a picture.
One block, after soaking.
So that's the block part. Onto the sampler part. Across the 3 blocks I had a total of 12 patterns - 3 on the first two and 6 on the third. Incidentally, the yarn for these blocks were some leftovers that my mother-in-law gave me from a pair of dresses she made for my little nieces. It's acrylic and I have 5 colors - white, blue, green, pink, and lavender. Because I started this before I knew the sex of the baby, and I didn't want it to seem too gendered, I made one block in boy's colors (green, blue, and white); one in girl's colors (pink, lavender, and white) and one with all of the colors (two white panels and one, each, of all of the others).
I had two requirements for the sampler patterns: 1) nothing fancy, since I didn't want it to bunch up weirdly - only knits and purls; and 2) it had to look good in 21 stitches. To the patterns!
Block #1 - "boy's colors"
Green was a simple basket weave:
Block #1, green basket weave - picture taken before stuffing
The pattern went as follows:
===vvv===vvv
===vvv===vvv
===vvv===vvv
vvv===vvv===
vvv===vvv===
vvv===vvv===
with v meaning a knit on the right side and a purl on the wrong side, and = meaning a purl on the right side and a knit on the wrong side.
White was a diagonal rib:
Block #1, white diagonal rib- picture taken before stuffing
Whew! That was quite a lot of patterns. Maybe I should have updated while I was working on the project rather than at the end. Oh well, I hope you were inspired to explore more of what knits and purls can do.
Next time I hope to update you on my spinning, or maybe the scarf made from handspun for my hubby.
Hello world! Yes, I'm alive. I survived the birth. I just haven't had much time for crafting, and therefore even less time for blogging.
I am getting back in the groove however, and am actively working on two spinning projects and a knitting project, mostly on my commute. Today though I'd like to report on last Sunday's trip to the Maryland Sheep and Wool festival in Howard County.
This wall of color pretty much represents the festival pretty accurately, I think
My mother, who doesn't knit (although she used to crochet) came down from Boston. She drove down my grandmother from Philly (who definitely knits - she taught me) and I brought up my mother-in-law from Baltimore (who stitches, knits, and crochets) and my baby (who doesn't know how to knit yet but he will).
Sweater made for the baby by his great grandma, with matching hat
I vowed not to buy any fiber this year because I have not been crafting much - I've done almost nothing with all of the yummy things I bought last year. I also saw how much I already had when we moved in September; there's nothing like a move to get you stash-busting! All I ended up buying was: a booklet on the history and variety of hand spindles around the world, two extra bobbins for my Ashford wheel, and two pairs of earrings made with *very* mini skeins of yarn.
I also didn't end up going to any demonstrations because I was carrying the little one around. That meant that I mostly looked and took pretty pictures. I also got to feel qiviut for the first time and it was amazingly soft (and amazingly pricey).
There were so many things to look at. Wheels and spindles:
Several new wheels and bobbins
People (and the lovely handmade clothing they were wearing):
Main boulevard at the festival
Animals:
Black sheep being pet by some small people
Toys and other small crafted things:
Little felted sheep
And, of course, yarn and roving:
Mohair yarn
"Skein of Thrones"
Undyed alpaca yarn
Very bright braids of roving
We also spent a good amount of time looking over the projects submitted for judging. I suspect the high quality of things there is why I did so well at the Maryland State Fair - MD Sheep & Wool tends to get the pick of knitted and spun items.
Gorgeous hooked rug
Shawl in turquoise and copper
Amazing double-knitted sweater
Lovely handspun yarn in natural colors
Maybe I'll have something nice enough to submit next year? Probably not with an infant.
Hello all! I know it has been more than a month, but things have been so crazy in other parts of my life I haven't had much time to even think about crafting. Along with the normal stress of the fall holidays, this year we bought a house, moved, and put our old place up for sale.
Spare moments at home have been spent unpacking, cleaning the old place, getting the new yard in some shape before winter hits, and getting used to the new routine. And of course now that I have hit the third trimester, just getting the normal things done takes more out of me than usual.
On the crafting front, most of my supplies have been packed away in boxes, but I have been steadily working on the baby blanket. It looks like it will be fairly long and narrow (as blankets go) but I'm definitely pleased with how it is coming out. It should be done this week or next week, depending on how much I nap and how much I knit on my commute.
Today though, I finally unpacked all of my yarn and fiber stash. I have some nice new plastic crates to keep things organized, and a shelf set up for my crafting books. Everything is in the closet of our new guest bedroom/library. Unfortunately, I can't show you any of it because I can't find the thing I use to transfer pictures to my computer (the hazards of moving).
Here is a nice picture of a sheep doll to make up for it:
Easy sheep doll, made circa 2006
Yarn and fiber is unpacked, but tools are mostly still in boxes. They are almost all in the right room, at least.
My main concern is that the new space I have for crafting storage is smaller than my old space. Our new place is a bit bigger, but one of the bedrooms has been designated the new baby's room. It is also the place with the litter boxes currently, so I don't want to store knitting things there if I don't have to. The guest room, which has the yarn and such, also has a lot of bookshelves, as well as being smaller than the old guest room.
The place does have a very large shed in the back yard that would be perfect... if it were at all climate controlled. I don't want to store fleeces in an airless, hot room if I can avoid it. We could add electricity, basic heating and cooling, and make it a perfect storage space or even playroom. But that is a project for the future, I am afraid.
Whelp, nothing to do but get crafting and try to work my way through the stash!
With the upcoming move to a larger place, and an exhausting trip to see the U.S. eclipse, I haven't had much time for knitting or spinning recently. And I'm not looking forward to packing up all of my stash either (and, you know, other things too), so this might be the last post for this month. But I did want to share my newest knitting project with you all.
I'm making a baby blanket for the little one we are expecting in January.
New baby will probably look something like this.
It's been awhile since I made a blanket, since they are so large. I'm generally a fan of working with smaller needles, and a blanket takes forever with small stitches. So I'm pretty sure that the last time I made a blanket was in high school.
My version of the Sunny Days Throw in blue and purple from Knitting Digest Magazine
I'm actually using the blanket to warm my toes at this very moment, so I've gotten my time out of it. I vaguely remember that I wanted to use the blue yarn from my stash (Wendy X-treme, a gift from someone else's destash) so I bought the lavender yarn to match it. I'm pretty sure the purple is wool, and it has shed like no tomorrow (it's a bulky single ply), but the label for it has been lost to the mists of time.
So, onto my current project. My husband picked out the yarn so that he could participate. I told him that he should get:
1) acrylic yarn, so that it is washable,
2) bulky yarn, so it won't take too long to make, and
3) one or two different colors, since most patterns are written for that.
Unfortunately, while his color sense is ok, he knows absolutely nothing about fiber arts. The yarns were both acrylic and bulky, but one was super-bulky, and one was just regular bulky/chunky. He got me Lion Brand's Hometown USA in silver and Big Twist brand's Chunky Yarn in blue-green. Beautiful together, both soft, both large and easy to knit up, but very different weights.
Well, crafting is nothing without a little challenge, so I went looking for a pattern that would combine the two in a nice way. I figured that a mosaic pattern would be great for two colors, not too difficult to remember (I'm still coming off of my lace shawl and wanted something a bit simple for now), and might even be better with two different weights. If I used the bulkier one as a highlight on the other, it might "pop" out of the fabric and give it a nice texture.
For my pattern, I decided on the Two Colour Slip Stitch Throw by Sandra Oakeshott. I kind of wanted to give a little love to a pattern that hasn't been done too often (according to Ravelry) - maybe someone will decide to try the pattern that I wrote as a cosmic payback. I hate the colors that she used for her example blanket, but I will be using turquoise and silver, so that part doesn't matter.
Anyhow, how does it look so far?
About 6" done on the blanket - a little more than one repeat
I think it is coming together nicely. The silver certainly pops out of the fabric, and the pattern is very easy to remember. I am out of practice with knitting using large needles (size 11, in this case) so it is a tad bit awkward, especially to purl. But it is going very fast with the easy pattern and the bulky yarn, so I am pretty sure that I will be able to finish in time.
One more look at the pattern close up and stretched out a bit:
Back in April, I dyed some roving that I was not a huge fan of. I was not much of a fan of the dyed version either: that "kelly green" dye is so bright! I feel like anything I knit with it will make me look like a crossing guard.
Dyed ramboullet roving in a bowl to dry
But I didn't want to waste it. It was my first time dyeing roving. Well, what do you do with fiber you don't like very much? Experiment and practice new techniques!
And this roving is getting that treatment twice. First, dyeing practice, then a new spinning technique: long draw.
For those of you who don't know, long draw is a technique where you pull the fiber, one-handed, away from the orifice of the wheel. In short draw, where your second hand is pinching the fiber so that there is no twist in the drafting area. In long draw, the twist goes into the drafting area. But the twist will travel to the thin parts of the fiber, so pulling on it will only draft the thicker parts (this won't work with long stapled fiber, or if the fibers are aligned - like with top). In short draw, you smooth the wool with your second hand, but in long draw you let it stay "fuzzy". This will create a woolen yarn - airy, fuzzy, and warm, with poor stitch definition.
Now, of course, the spinning I'm doing can't be a "true" woolen prep if I am not using rolags from my hand carders. But this kind of narrow roving is pretty similar, and the fibers are certainly not aligned like with top. I do think that it would be easier with rolags though: this fiber was really "sticky" and hard to draft, so I couldn't do a pure long draw either - I kept needing to tug on the roving with my second hand to free it. It probably doesn't help that my wheel has very little "pull", even after tightening it quite a bit.
My final tally was over 600 yards of long draw singles, and I was definitely getting the hang of the technique by the end. So, as a practice yarn, it was a success. How did it come out as a yarn for knitting though?
300 yards 2-ply woolen ramboullet yarn
It could be a lot worse.
Looking at the singles, there were several parts of the color that I really liked, and it might have come out better if I had left out the yellow dye. The yellow just made the neon problem in the green worse.
Singles on the bobbin
When I was about to ply, some of the color was so nice that I was tempted to just do an n-ply to preserve the color progression. But the yarn was pretty uneven, which would only be exacerbated by an n-ply. And I was hoping that the uglier parts of the color progression would be tamed by the prettier colors.
2 full bobbins, ready for plying
I don't know how successful that was. It is so hard to tell in the skein. I guess I'll have to wait until I knit it to see if I like the finished product.