header picture

header picture
Showing posts with label finishing. Show all posts

Monday, November 19, 2018

Three Projects in Three Stages

This month I am going to talk about three projects that I have been working on recently: one just finished, one that I am right in the middle of, and one just starting.

Each part of a project has its charms. When you are just starting, there is the excitement of trying new things, planning (I do it sometimes, I swear) and dreaming, and puzzling out how it is all going to work. In the middle, you are getting the hang of it. You often can just let your fingers remember the pattern and relax. At the end of the project, you start seeing how it will finally look. You get to get out of the rut you have been in for the middle part and do some finishing to make it look just right.

We'll start with the end.

Finished shawl, delivered to recipient
A few months ago, I told you about a lace shawl I was working on with handspun and commercial yarns. Well, I finally finished! I always forget that triangle shawls knit up fast at the beginning and get slower and slower as they go along. So when I think I am three-quarters done, I am actually only half done (or less).

That's the first thing about finishing - it can seem to take much longer than it should. What do they say, the last 10% takes 90% of the time? Not so true in knitting, but it can feel like it!

Once the shawl was actually cast off, I still had to weave in ends and block it.

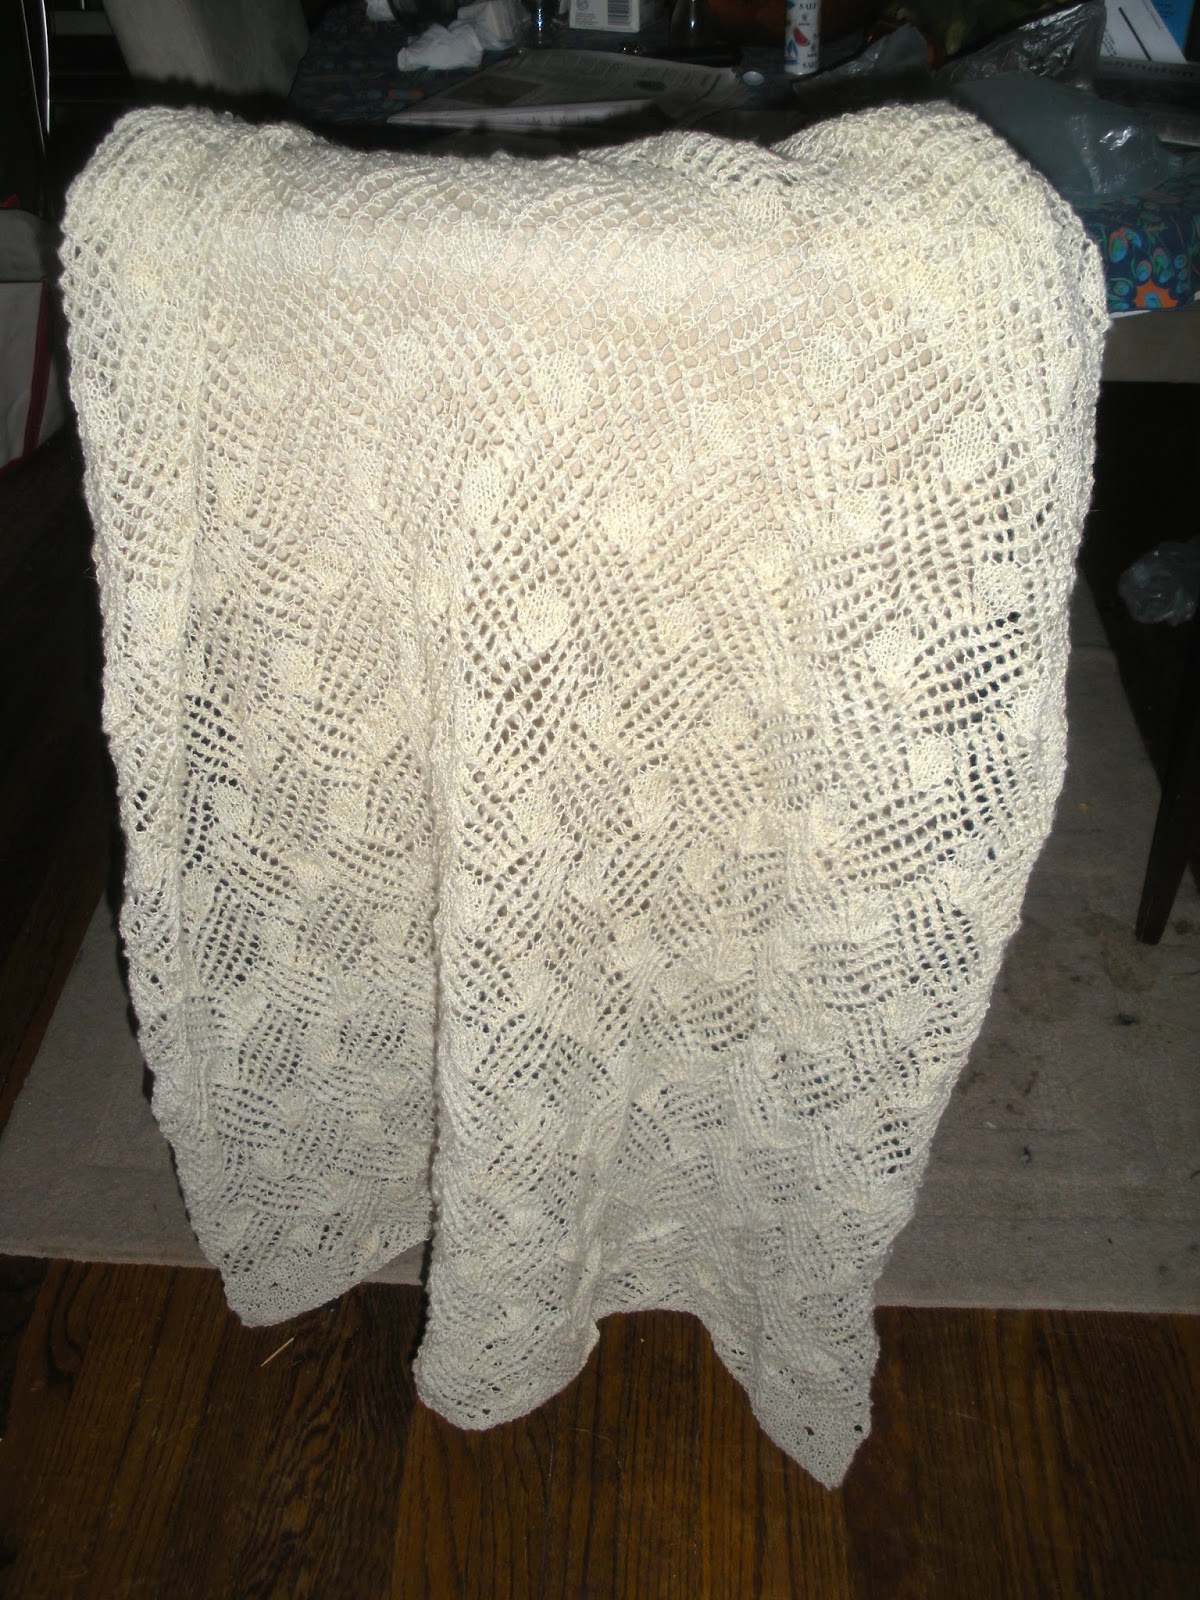
Pre-blocking, post ends-weaving:
Shawl, pre-blocking
In this case, I wanted to block it in such a way that it would preserve those beautiful waves on two edges. So I could only use my blocking wires on one edge, and just t-pins on the others.

Mid-blocking:
Blocking on the blocking mat
And finally I had to get it to the recipient: a friend who has a fondness for pink and purple.

Completed:
Wearing the shawl
Ok, now for the middle.

Since May I have been working on a spinoodling project. (Like noodling, but spinning. Get it?) I needed something that was portable, and wasn't ready to start something big, so I took out some yummy fiber and my Ashford spindle and figured I would let it speak to me. Again, I didn't really plan out where I was going with this project.
Not so Solid Solids from Little Barn
The wool is not a specified breed, but it is mill-prepared, combed top, with a nice variety of shading. I spun it for awhile and I tried to do it less fine than my previous spinning project. I have half a pound of the fiber, and I don't want to be spinning it forever!

But I guess I've reached that stage in every spinner's life when I have to relearn how to make thick singles. my hands just don't want to do it. And, of course, it's easier to thin a thick part of the yarn (untwist and tug) than to thick a thin part.

So after I had been spinning awhile, I decided that only a quarter of the wool would be used to make a single this thin. I would try making a fluffy, thick single to ply it with. Well, a couple weeks ago I wound my thin single onto my spindle bobbin (reusable straw) and started my thick single.
Thick single on spindle, thin spindle on straw
It's hard! My hands keep wanting it to make it thinner! After a bit of spinning, I started spinning the top from the fold. Thinking about it, I really wanted a nice fluffy yarn from my second ply, to really contrast with the first ply. It's definitely good practice to retrain my hands though. Hopefully, I'll be able to post beautiful pictures of a lovely art yarn when I finish, and it won't vary too much from start to finish (unlike my first major yarn - oy!).
Two mismatched ends of the same scarf. Made from my very first major spinning project.
And finally, we get to the beginning - of a new sweater, that is. This has been many years in the works. Way back at the 2014 Maryland Sheep & Wool festival I got three large skeins of an alpaca/wool blend to make my husband a sweater with.
Surrey, from Brooks Farm - Color #1

Surrey, from Brooks Farm - Color #2

Surrey, from Brooks Farm - Color #3
As usual, I miscalculated the colors I should buy. I always want to buy sets of three colors. Two that match and a third to tie it all together. But so few patterns are written for three colors! So I usually have to find a two-color pattern and modify it. As I am planning on doing here.

My husband always cold, so a nice alpaca sweater will be much appreciated. And the wool in the blend will hopefully keep it from growing too much during wear. I'm a bit worried a how loosely plied the yarn is - I can only hope that it wears well and doesn't pill. From my notes, it appears that I was planning on doing fair isle. But, I don't feel like it (so there). I picked a mosaic pattern: Shulz by Mary Kate Long.

It is top-down, so I am having fun right now with complicated short rows and picked up stitched for the shoulders. It doesn't look like much yet, but I can see the possibilities...


Until next time, happy crafting!

Sunday, July 30, 2017

Sheep to Shawl: Part VII

Whew! It's been awhile since I posted! I've been resting my shoulder, taking it easy, and working to finish up some big projects. Well, I did start a bit of spinning on my wheel, but I'm waiting until it is finished to do a full write-up. For today - I've (almost entirely) finished my shawl I started spinning just a bit more than two years ago.

If you are interested in my progress up to now, in Part I I covered washing the fleece, in Part II I covered prepping it, in Part III I covered spinning singles, and in Part IV I covered plying and finishing the yarn. In Part V I covered starting to knit the shawl and in Part VI I covered the detail work that I did for the neck band.There have also been two other progress reports on the shawl here and here.

Today I will cover all of the little finishing touches that it takes to complete a shawl. I weaved in the ends, blocked it, reinforced the "button" holes where I will be tying on the tassels, and sewed on the neck band. I still have to tie on the tassels, but since that is a religious task, I figured it was outside the scope of this blog.

First, I needed to finish knitting it. It looks about the same as it did the last time I showed you a picture, just bigger:

Finished shawl, before blocking
After casting off, I spent a bit of time weaving in ends. Because there wasn't any colorwork, the only ends were where I switched skeins, and where I had to make spinners knots (because my singles snapped while plying). I find that the easiest way to weave in ends is just to do a duplicate stitch for a bit, then snip off the rest. If the remaining end is long enough, I use a darning needle. If it is too short, I use a crochet hook. Either way, after a few stitches, it is very unlikely to come undone.

Next, it was time for blocking. In the past, I have just used t-pins on a towel for all of my blocking, or just the towel for a light blocking. 

But I wanted this to come out very rectangular and even, and it is very large. I had heard good things about blocking wires, so I figured I should try them. I also bought some interlocking foam mats to pin to. 

The mats I bought come in sets of 9, and can be arranged in any configuration. This gives them more flexibility than a blocking board - if I had a 6-foot scarf, I could block that by setting them up end-to-end. They also store easier. I got two sets of them, but 18 still wasn't large enough to completely block this very large shawl, and some of the t-pins were pinned to the floor.

Interlocking foam for blocking surface - not quite large enough
The blocking wires were really easy to use, but 1) they weren't quite large enough for the whole shawl, so I had to overlap them and 2) setting them up with the damp shawl on my lap was quite tedious. They did give a nice even block, even if I only used them on the sides of the shawl.

Damp shawl stretched out and pinned to the foam blocks
When it was dry, I pulled it up and took out the wires. This part was quite easy.

Next, I wanted to reinforce the holes that I left to tie the tassels onto.
Corner of the shawl, with hole for tassel
I saw several options for reinforcement. The most common was whip stitch, but I wanted something really strong. There was also blanket stitch, but that looked like it was more to reinforce a hem than for a small hole like a button. I ultimately went with buttonhole stitch. It makes a series of knots around the edge of the hole, which are less likely to fray. And it is called buttonhole stitch, so it must be good for buttonholes.
Reinforced hole for tassel
After watching a video, I picked it up pretty easily. It's always good to have another tool in the toolbox, even if I don't make things with buttons very often.

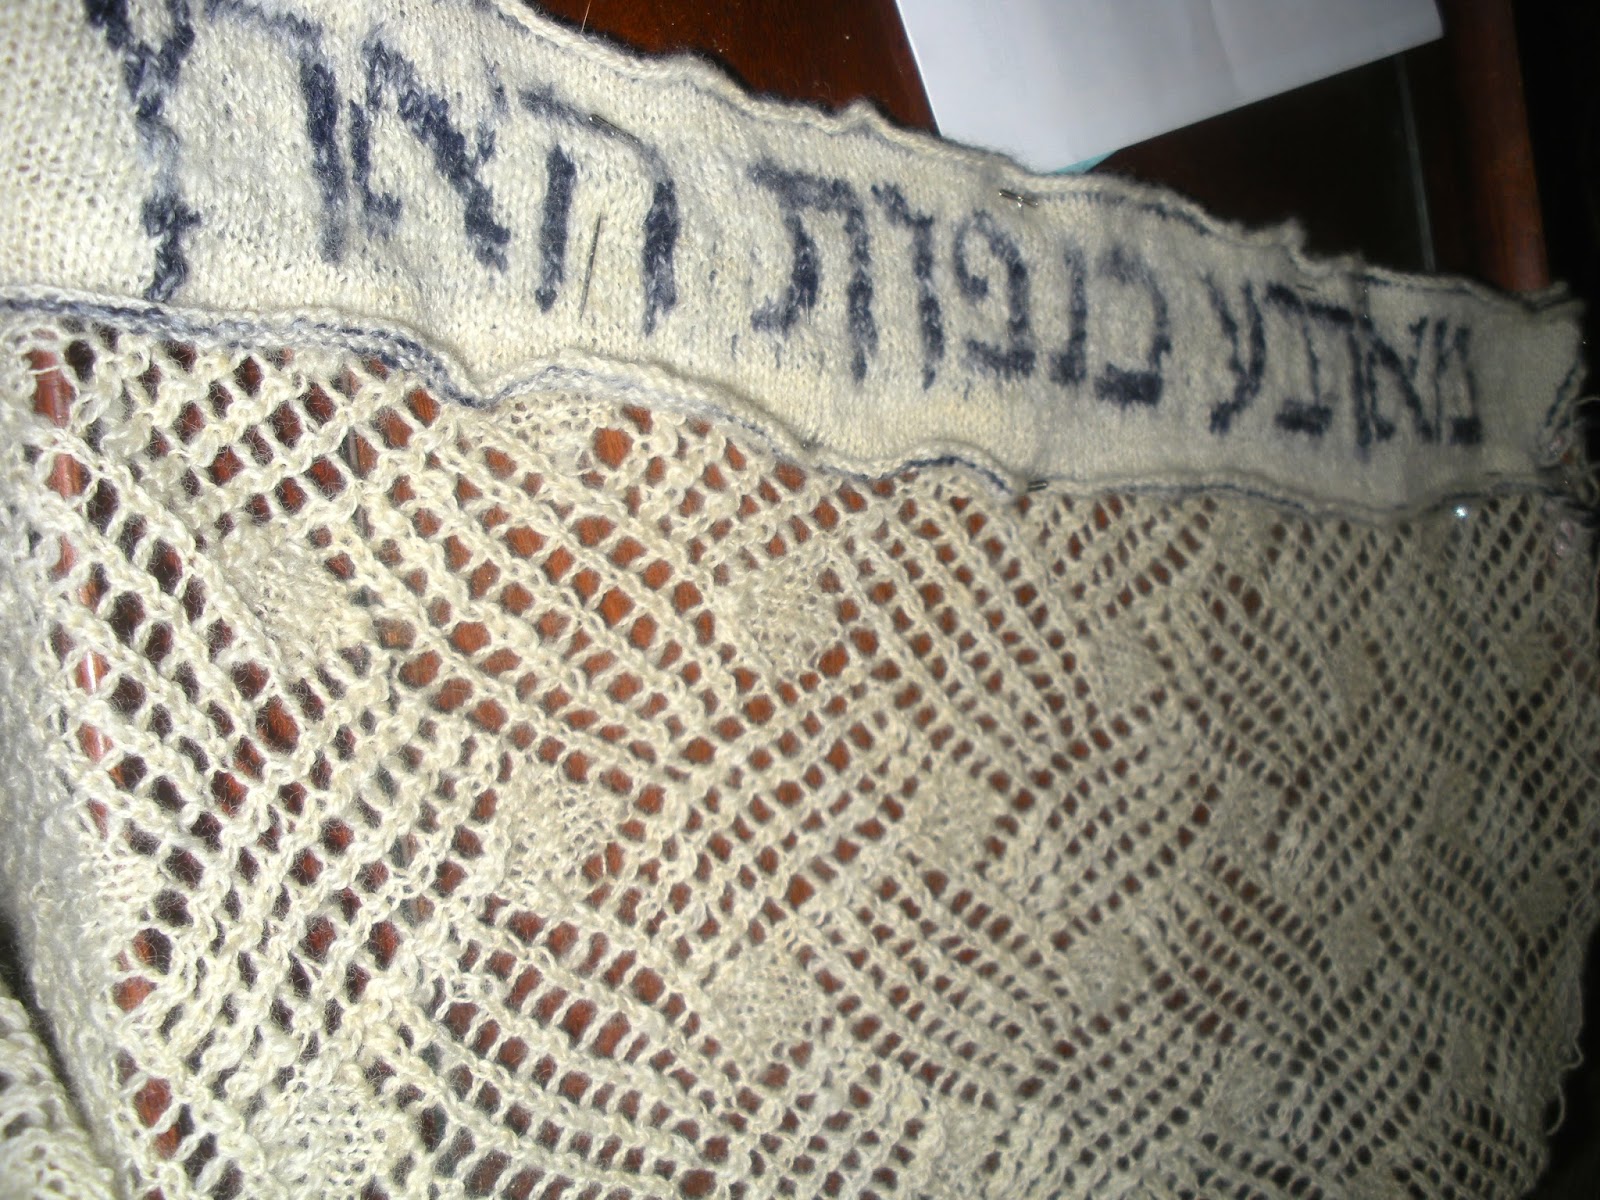
The last bit of finishing was to sew on the neck band. I folded the shawl and the band in half and pinned it, so that it would fall in the right place. I used the t-pins to pin it up and down, because sewing on a stretchy fabric without bunching up is tricky.

Neck band, pinned and ready for sewing
Then I just used some more of the same yarn for whip stitch all the way around. Unfortunately, it seemed to be sagging and uneven, but I was able to mostly fix it by lightly sewing around the letters.
Neck band, all sewed on, mostly evenly
All that is left is to tie on the tassels! I am so excited to have this shawl. Remember, it started out with this:
Leicester sheep
Which became this:
Locks of leicester wool
Before I spun it into this:
Strands of yarn, with quarter for scale
Finally, after many months of work, I have this:
Shawl, being folded as it is meant to be worn, on my shoulders.

Saturday, October 17, 2015

Sheep to Shawl: Part IV

Part I covered washing the fleece, Part II covered prepping it, Part III covered spinning singles.

As of today, I have about 750 yards of spun, plied, and finished yarn. I think I will be doing one more skein, but I am taking a little break first and working on some bulky yarn to keep myself from getting into a rut. Still, I think it is time to show off some of what I have been doing.

When I last wrote about this project, I was about of a third of the way finished with the first bobbin. Two months later, I have finished two full bobbins-worth of yarn, plied them together, and finished the yarn.

I have a lovely tensioned lazy kate for plying, and it really helps to keep the yarn even.
Yes, I keep my lazy kate elevated with a box of Apples to Apples
I keep the lazy kate a few feet back from where I am sitting, so that the singles have a chance to even out as they are winding on. I don't know how much it helps though, since they have been on the bobbins so long that they have settled and lost their twist energy (though it will return when I hit it with a warm bath later).

Where with spinning singles, the fact that I don't have a lace setting for my wheel was nice for a beginner (it gave me a lot of time to draft, since I was treadling 3 times for every inch of yarn) the lack was very much felt for plying. It took what seemed like forever, and not much to do but let it run through my fingers.

After I had finished plying, I wound it onto my niddy-noddy. I counted, and there were over 250 wraps of yarn on it when I was finished with one bobbin-ful, and I had two bobbin-fulls.

The first skein, I tied it with black yarn, because that is what I happen to have in lace-weight, and it doesn't really matter. The second was tied with the small bit of remaining singles. To tie it so that it won't get tangled when I finish, I wove the yarn in and out in four places. I have seen recommendations to "make figure-eights" but I never feel like just two divisions of the yarn is enough, so I make about 8.

Skein #1
Once I had left it on the niddy-noddy for a few days to settle, I took it off and got ready to finish.

When I finish yarn I usually don't thwack the yarn to make a halo, or anything fancy. Because there was still some lanolin on this, I just swirled it around in really hot water with soap to reactivate the latent twist energy and get out the lanolin and oils from my hand. Because it was so yellow, I also gave it a hot bath with some hydrogen peroxide. I don't think it really did anything though, comparing  pictures before and after. Maybe I need more in the bath, but I am afraid of ruining the wool.

Skeins getting a bath
I don't have a large house, so I did all of my finishing in our bathtub with a bucket and a lobster pot (which we do not use for lobster). I hung the skeins to dry in the same place with plastic coat hangers.

The last step, after they were dry, was to twist them up for storage, and weigh them: 4.8 ozs, 752 yards of fine yarn.

Progressing nicely!

Part V can be found here.

Thursday, July 23, 2015

Quick Silk Update

Done with the silk yarn! (more details here)

And one more picture of it being stretched on the niddy-noddy before finishing:

Hopefully grandma likes her birthday present.

Sunday, July 19, 2015

Time to Block

A big recent accomplishment, and part of the reason I started this blog, is that I finished a vest. I had been working on this project (among others) for the past three years.
Wearing my new vest before it is blocked
This project took forever, but it was completely worth it.

One of the problems with being a hefty knitter is that making garments for yourself takes forever. Not only are the pieces larger (and therefore take more stitches) but anything made with bulky yarn just looks bad. So, to recap: large size clothing, plus thin yarn (and therefore smaller needles) =  projects that take forever to finish.

This project, definitely fits this description, being on size 5 needles (3.75 mm). Each row was approximately 230 stitches, so you can understand why it took three years. However, nothing compares with the pleasure of a) finishing a large piece, b) having a custom-sized piece of clothing, and c) reminding yourself that you are worth it.

This particular piece was based on a Japanese pattern: the Ripple Vest from Gosyo yarns. Japanese patterns are interesting, because they are based almost entirely on charts. And the chart symbols are standardized by the government, so naturally, they never include a key. Luckily, the internet provides, but deciphering took some work. Then, if that wasn't enough, increases and decreases are described in mysterious groups of three numbers. Apparently, 3-1-1 means to decrease every 3 rows, 1 stitch, 1 time.

Of course, the pattern did not include my size (another travail of heavy knitters) so I improvised. As you may imagine, some of it worked (it fits me), some of it didn't (the armholes are weirdly large). It didn't help that I didn't write anything down (do I ever?) and that I decided I wanted it to be knee length about halfway through the knitting.

Overall though, I am quite pleased with it, and I am submitting it to the Maryland State Fair for judging.

Of course, that means I need to block it.

Blocking is an important step for lace projects, opening up the holes and evening out the stitches. However, the vest is already a bit large on me, and if I do a full blocking with needles or wire the nice ridge pattern is likely to disappear. So I am doing a "light blocking". The yarn, which is a wool/silk/bamboo blend, will hopefully hold the blocking.

The process for a light blocking is thus:

  1. Completely soak the piece in warm water. Let is soak for awhile. This not only gives a chance for the stitches to settle and even out, but it lets some of your hand oils and other dirt on the piece to come out.
  2. Wring it out until it is no longer dripping.
  3. Spread it out on a towel in the arrangement that you want it. You can let the holes be open, without completely stretching the piece, and the towel will hold it roughly in the shape you set while it dries.
  4. Let it dry.
So, Before blocking (draped on a chair):


After soaking, spread out on the towel:

Now, I just have to wait for it to dry!