header picture

header picture

Sunday, January 31, 2016

Spinning with Color

One of the hardest things to learn about buying fiber for spinning is that, no matter how pretty the fiber colors are, it will not look like that when it is spun.

Unless you are doing a gradient of some kind, the colors will mix and mingle as you spin them. You get this a bit with knitting variegated yarns, but less so - for the most part, the colors never "run" together like a bad watercolor.

Now, maybe I am just inexperienced, and, if I knew what I was doing I could get clean, clear color transitions. But I think that it is more than a matter of technique. If I want that kind of yarn, I need to dye it after I spin it.

So, for instance, if I buy wool that looks like this:
Yellow wool from Little Barn
The final yarn will be much more uniform, with almost no variation across the yarn:
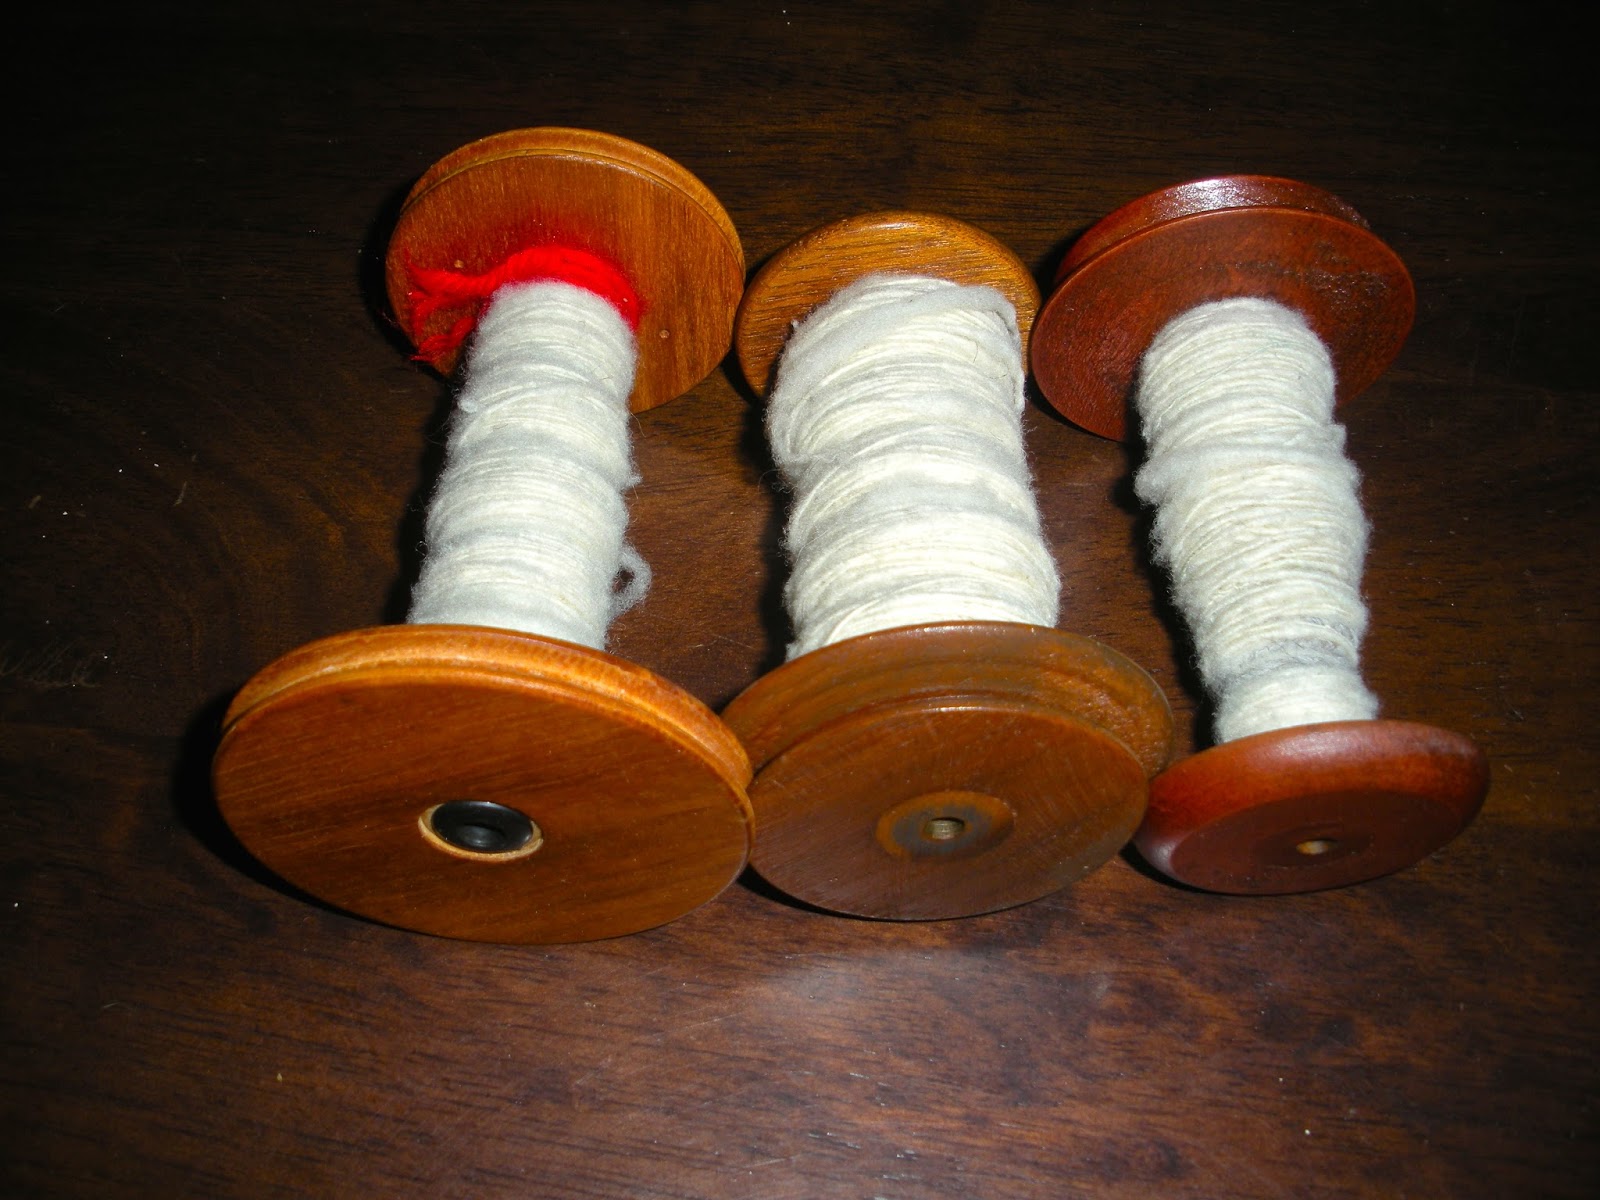
An early yarn made on my wheel, 2-ply
There is a depth of color, but the shading that I really enjoyed in the fiber just isn't there in the final yarn.

Sometimes, the colors I get are completely unexpected though:
Jacob roving from Blue Flower Flock
I thought that this would come out mostly white, with a bit of gray tinge. Nope! I got a nice, dark tweed.
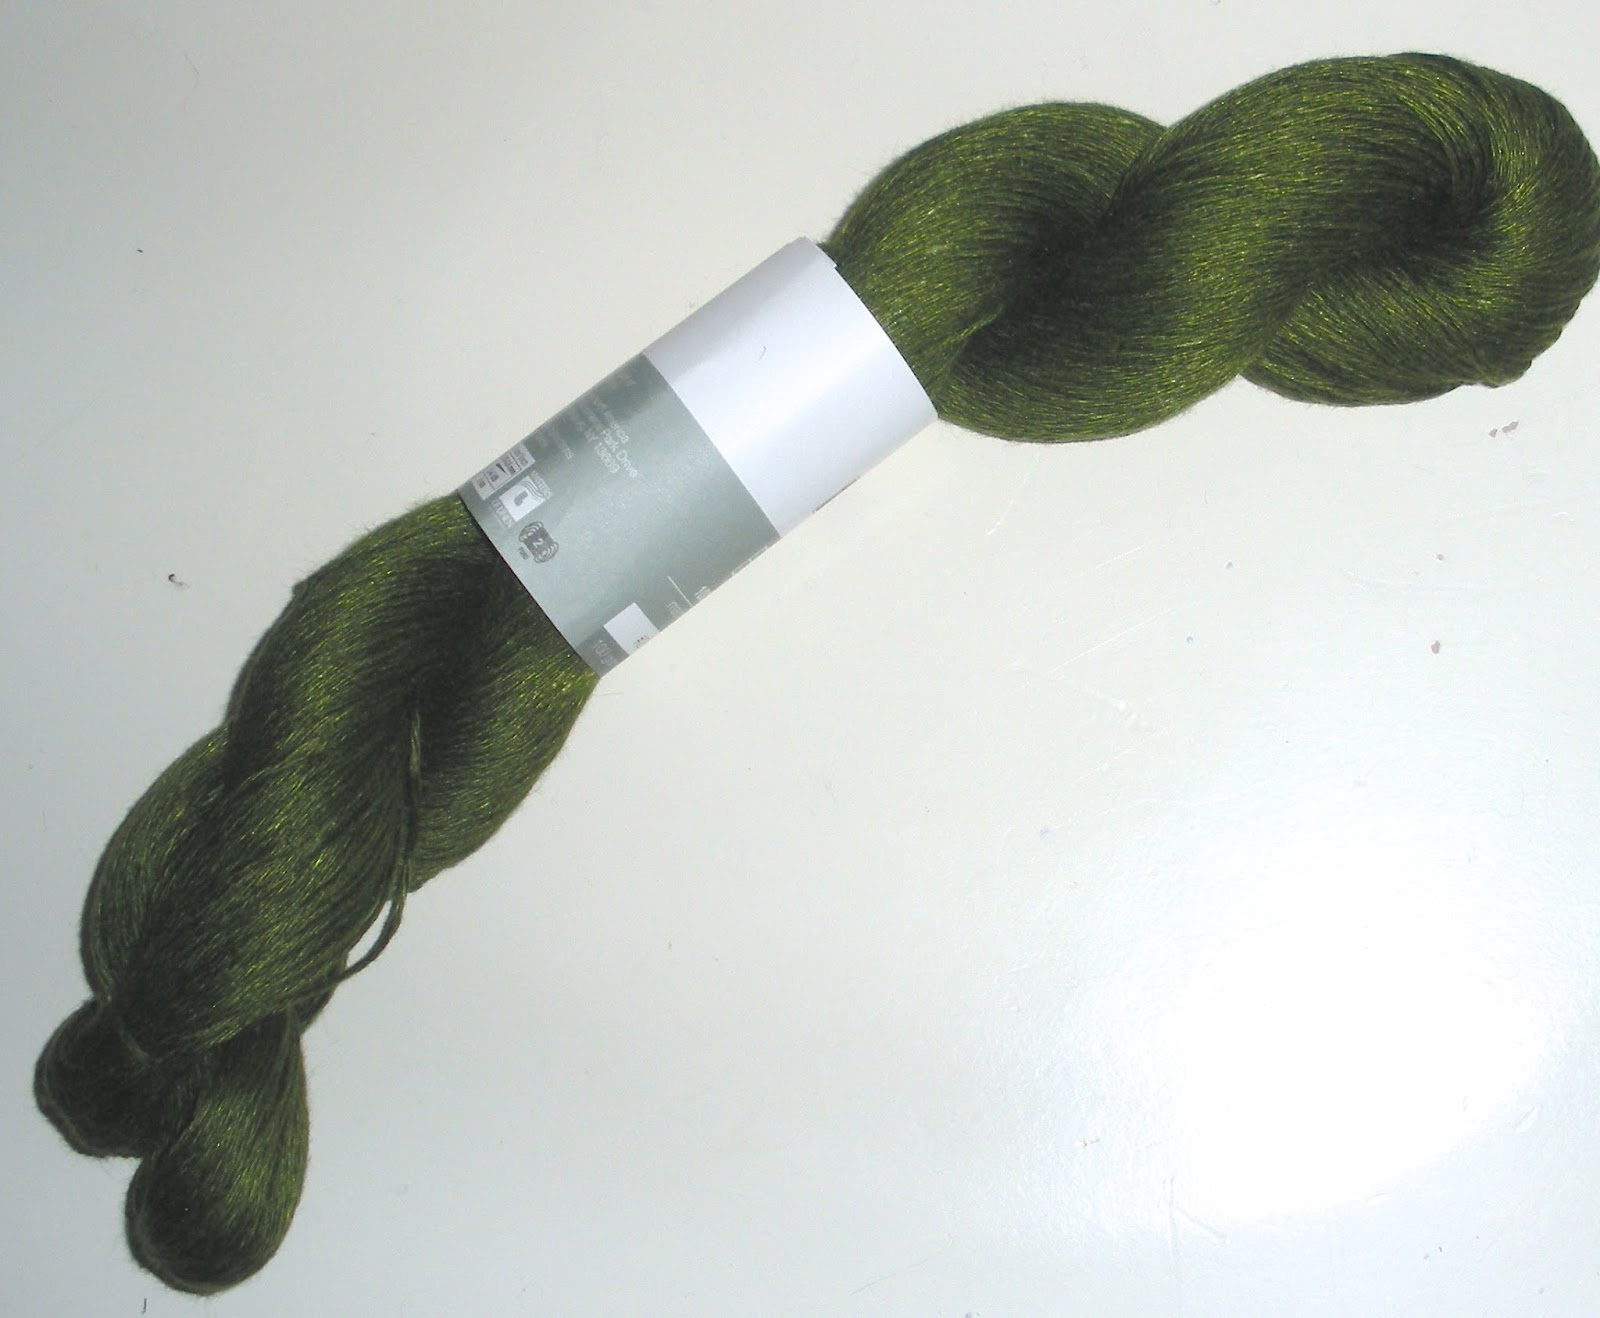
Three-ply Jacob skein
And finally, the spinning project that inspired this post. I took a batt of dyed coopworth and spinnoodled (this is now a thing) a small skein this week. I could tell that the locks had been partially felted when they were dyed, and the drum carder had difficulty in making a usable batt. But the colors were really interesting:

Rough coopworth batt from Blue Moon Fiber Arts
Maybe I just don't know how to handle this kind of stripey fiber, but it came out really weirdly blended:
2-ply skein on the niddy-noddy
Maybe it is just me, but the colors don't seem to match at all with what I started with.

Here is a close-up:

Well, it is interesting. I don't know what I will make with it. Maybe I will only spin from uniform colors in the future, and leave variegated yarns to the dye vat.

Sunday, January 17, 2016

Fluffy Yarn

While progress continues nearly imperceptibly on my hat and skirt, I did a bit of spinning to share.

We were having a party, and I wanted to be prepared in case someone asked for a spinning demonstration (I find it fascinating, of course everyone else would too).

But I wasn't really in a spinning mood, and I didn't want to start a big project. I needed some fiber to play with that I didn't care if it went to "waste" - meaning I didn't pay attention and it wasn't very usable. I didn't feel like planning anything out either.

So I looked through my fiber stash. Unfortunately (?) nearly everything is really nice, and I wouldn't want to waste it on the spinning equivalent of doodling (spinoodling?). There was one thing though...


I had some white ramboullet roving. Ramboullet is like merino, but a bit courser - it is a fine, bouncy fiber. Historical note - all merino sheep were once the exclusive property of the king of Spain, with a penalty of death to give one to anyone else. The first ones to be owned by anyone else were a gift to the King of France, and his shepherds bred the ramboullet from the Spanish merino.

So, I ended up with some rambouillet. There are two problems with it that make it excellent for spinoodling. First, it is white. Without dyeing, there is only so much white wool that I can use. Second, for some reason, the roving came in two types. Most was in a long, bouncy tube. But a bit of it was in a big, square, compacted, possibly felted mat. Heck, I am not even sure that the mat is rambouillet - all I know is that it was in the bag labeled rambouillet.

Nice rambouillet roving

Matted ramboullet roving
Working with the mat was a challenge. Everything had to be pulled apart and stretched before spinning, and even then, it was inconsistent. I attempted to do a true woolen yarn for this, but I don't know how well I succeeded with my longdraw (the point was to spin without paying much attention, after all).

A single of the yarn
But it actually inspired me. I had decided, while looking at my beach skirt, that what it really needed was some "sea foam" at the edges. This puffy, inconsistent yarn that I was creating seemed to fit the bill great. 

I had thought at first that I would just use the singles for my edging, but it turned out too thin and tightly spun for that, so I made a nice, round three-ply.

Singles on the bobbins. Yes, one bobbin was spun on one wheel, two on the other. Consistency was not the goal on this one.

The three-ply yarn (I didn't make much) waiting on the niddy-noddy, with a quarter to show thickness. 
Well, the yarn is stretching, and we will see how it turns out once it is finished with a soak. It does seem to be nice and fluffy, and should make great "foam". It also came out surprisingly even, given what the singles looked like. I guess plying does forgive a multitude of sins.

Monday, January 11, 2016

Felting

Felting is funny: it means so many different things.

When we were kids, most of us did crafts with felt - in premade sheets. All you had to do was cut it in the shape you wanted, and it could be used as a stiff fabric or like textured paper. I think I still have a little pillow somewhere make out of those sheets and stapled together.

There is also needle felting. I don't do that craft, and I know very little about it, except that they sell the cutest little kits at Maryland Sheep and Wool festival.

When you are processing fleece, especially fine fleece, felting is the thing you live in dread of. Just a little too much agitation, or the wrong temperature of water, and a beautiful bit of wool becomes unspinnable.

Then there is the felting that knitters do, although it is technically "fulling".

Fulling a knitted fabric shrinks it and removes stitch definition. It smoothes out the fabric, and stiffens it. It often makes it warmer as well, thickening it and shrinking the holes. You can full the fabric a bit, just to make it more form-fitting, or a lot, to make it closer to a true felt.

In general, felting or fulling only works with animal fibers, particularly wool. Agitating and/or temperature changes cause microscopic "hooks" in the fibers to catch on each other.

All of this is to say that I experimented with a bit of fulling recently, and I may be doing some more soon.

I made some felted dryer balls to use up some waste wool and ugly yarn. They supposedly make the dryer more efficient and possibly soften the laundry without chemicals.

I used two different handspun yarns that were fairly ugly, a green single-ply and a yellow two-ply:

yellow 2-ply

The green yarn was so bad I didn't ever take a picture of it. Here some of the fiber it was made from.

The green was made from coopworth wool combing waste, while the yellow was made from commercial top from an unspecified breed of sheep.

I made identical balls from the two yarns, and fulled them in the dryer (so much easier than the old fashioned way):


From left to right: an unstuffed "case"; a pre-felted ball; and a post-felted ball
Although the balls were the same size initially, the green balls felted much smaller, and were much more compact, and also less "squishy".


Some possible explanations:

  1. I stuffed the green ones with more fiber
  2. The fiber that I stuffed the green ones with had the lock structure broken apart, which made it felt better
  3. The single-ply felted easier than the two-ply
  4. Unbeknownst to me, the yellow wool is a super-wash wool (the "hooks have been chemically removed so that the wool won't felt)
  5. The yellow yarn is thicker, so it couldn't shrink as much
  6. Any or all of the above

Sunday, January 10, 2016

Needle Inventory

Ok, so while I was on break, I decided to do an inventory check on all my needles.

First, straight needles:

Straight needles from the collection, in size order

One set each of sizes 1, 2, 4, 6, 7, 8, 9, 1, and 13
Two sets, each, of sizes 3, 5, and 15
One unmatched needle in sizes 10.5 and 13
No straight needles in size 10 or usable ones in size 8 (all I have are decorative glass ones)

Next, on to the double-pointed needles:
Double-pointed needles not currently occupied in projects arranged
 in size-order. Plus that essential tool - a needle gauge.

4 needles, each, in sizes 5, 6, 7, and 10
5 needles, each, in sizes 000, 00, 0, 1, 8, and 9
6 needles in size 4
and 11 needles in size 3 (don't ask me how I ended up with so many, I don't know)
I also have 4 needles in size 2 according to my records, but it took me awhile to find them. Turns out they were still in a long-abandoned project.

Finally, the circulars:
Circular needles not currently involved in projects.
I was too lazy to organize them for the photo, though.

One 12" size 3
16" for sizes 4, 5, and 8
One 24" size 1
In 32" I have sizes 5, 6, and 7
and in 29" I have three, each, of sizes 2 and 3; 2 of size 4; and one, each, of sizes 7, 10, 10.5, 11, and 15.

While I have bought some needles, many were inherited from either my grandmother who taught me to knit or a cafeteria worker at my college who heard that I knitted.

I have a variety of materials. In general, I prefer aluminum needles, since plastic tends to break, but the bamboo double-pointed needles are nice, in that the stitches tend not to fall off.

It is funny how these things tend to collect over time. I am already finding similar collections of spindles and bobbins beginning - though I know fewer people to inherit spinning supplies from.


Thursday, January 7, 2016

Linen Mosaic Hat

Well, I did promise that I would post something about the linen mosaic hat I had been working on. I finally got around to getting the pictures onto my computer, so I might as well show you all. I was somewhat hoping that the recipient of the gift would send me a nice picture of the hat being worn, but it looks like he hasn't gotten around to it.

A hat
It came out even better than I had hoped it would. I didn't end up blocking it, though. Partially because it might ruin the texture of the pattern, and partially because I ran out of time. I didn't want to put a wet hat in the shipping box!

The hat is nice and long, and I ended up using the rikke hat as a model for the shape of the hat. I thought the square shape of the original pattern was fine for a winter hat, but not so much for a hat for all seasons. The intended recipient lives in Los Angeles, so it is less a winter hat and more an indoor hat. It hangs down in back in that slouchy way that I hear is trendy (though what do I know about fashion?).

I realize I never showed you how the yarn looked "in skein". Here you go.

The one problem I had with its construction was that, because of the linen material, the brim did not grip the head like a rib normally does. So I improvised with a "drawstring" that is woven through the rib stitches. Hopefully, as the linen softens, there won't be a problem with the drawstring not pulling tight anymore.

Well, I still have quite a bit of linen left over, but not enough for a shirt. Any suggestions for it?