Which are better, long projects or short ones?
Long projects seem like they don't progress. You never have anything new to say about them:
"how is the sweater doing?"
"Fine, added another two inches this week."
They require a lot of advance planning at the beginning, then just stitching. And stitching. And stitching.
But... the payoff at the end is amazing. You can look at whatever it is and say, "I made that." It is the most gratifying feeling in the world.
With short projects, a larger part of them is the fun planning stages, and less is the relaxing stitching stages.
There is nearly instant gratification, though smaller.
They are easier to carry around.
And, there is more progress to share!
So, what do y'all think? Short or long?
header picture

Tuesday, September 29, 2015
Sunday, September 27, 2015
Vintage Patterns
I like vintage patterns in theory, but not so much in practice.
In theory, I like patterns that don't use frou frou yarns, that focus on colorwork and stitch patterns, and I don't mind something that doesn't have a contemporary look.
But, that is in theory. In reality, it is much harder to search vintage patterns to find one that fits my needs. Many of them assume that you have more time, so they use small needles. A lot of the colorwork patterns would require me to buy more yarn, rather than using the stuff I already have. Most of the ones I own are for sweaters, so it would take me a very long time to do more than one of the patterns. And they are never written in my size, so I would have to completely rewrite the pattern anyway.
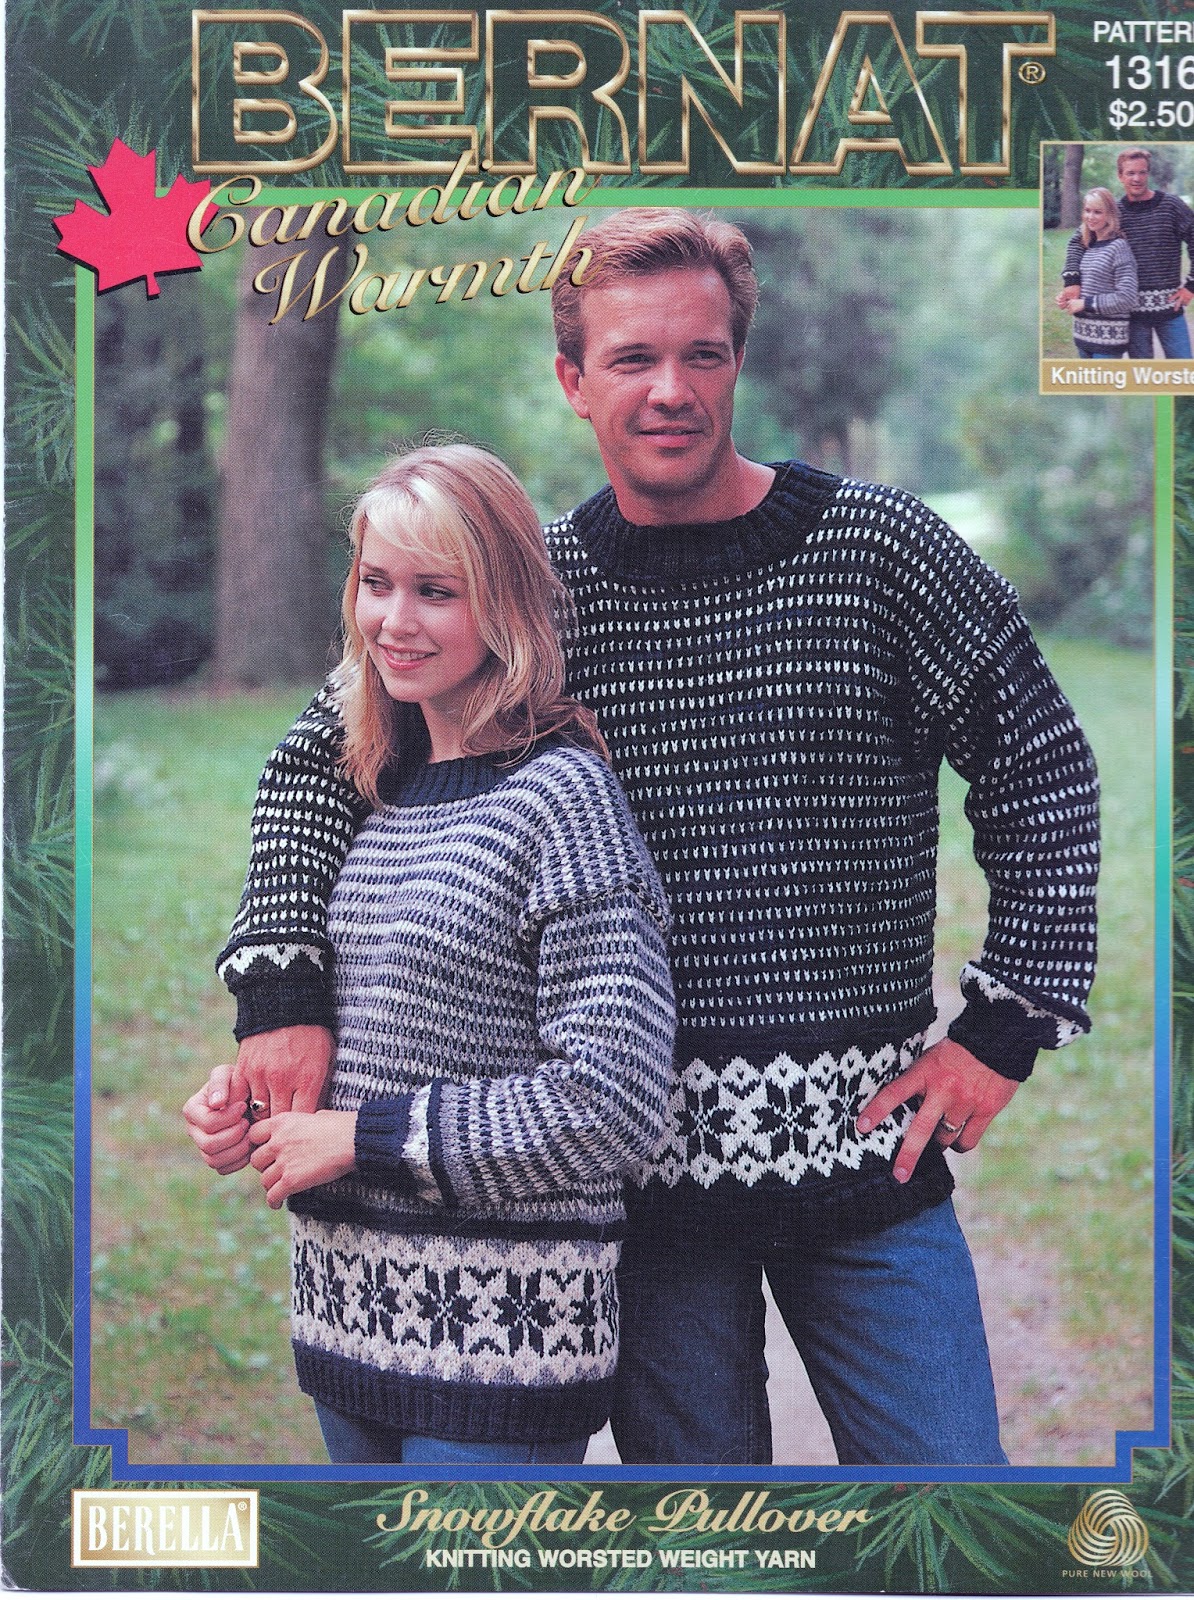
But the pictures are still fun to look at (especially for the really ugly patterns). I picked up a whole stack of vintage patterns at a science fiction convention a few years ago, so let's see what we have.
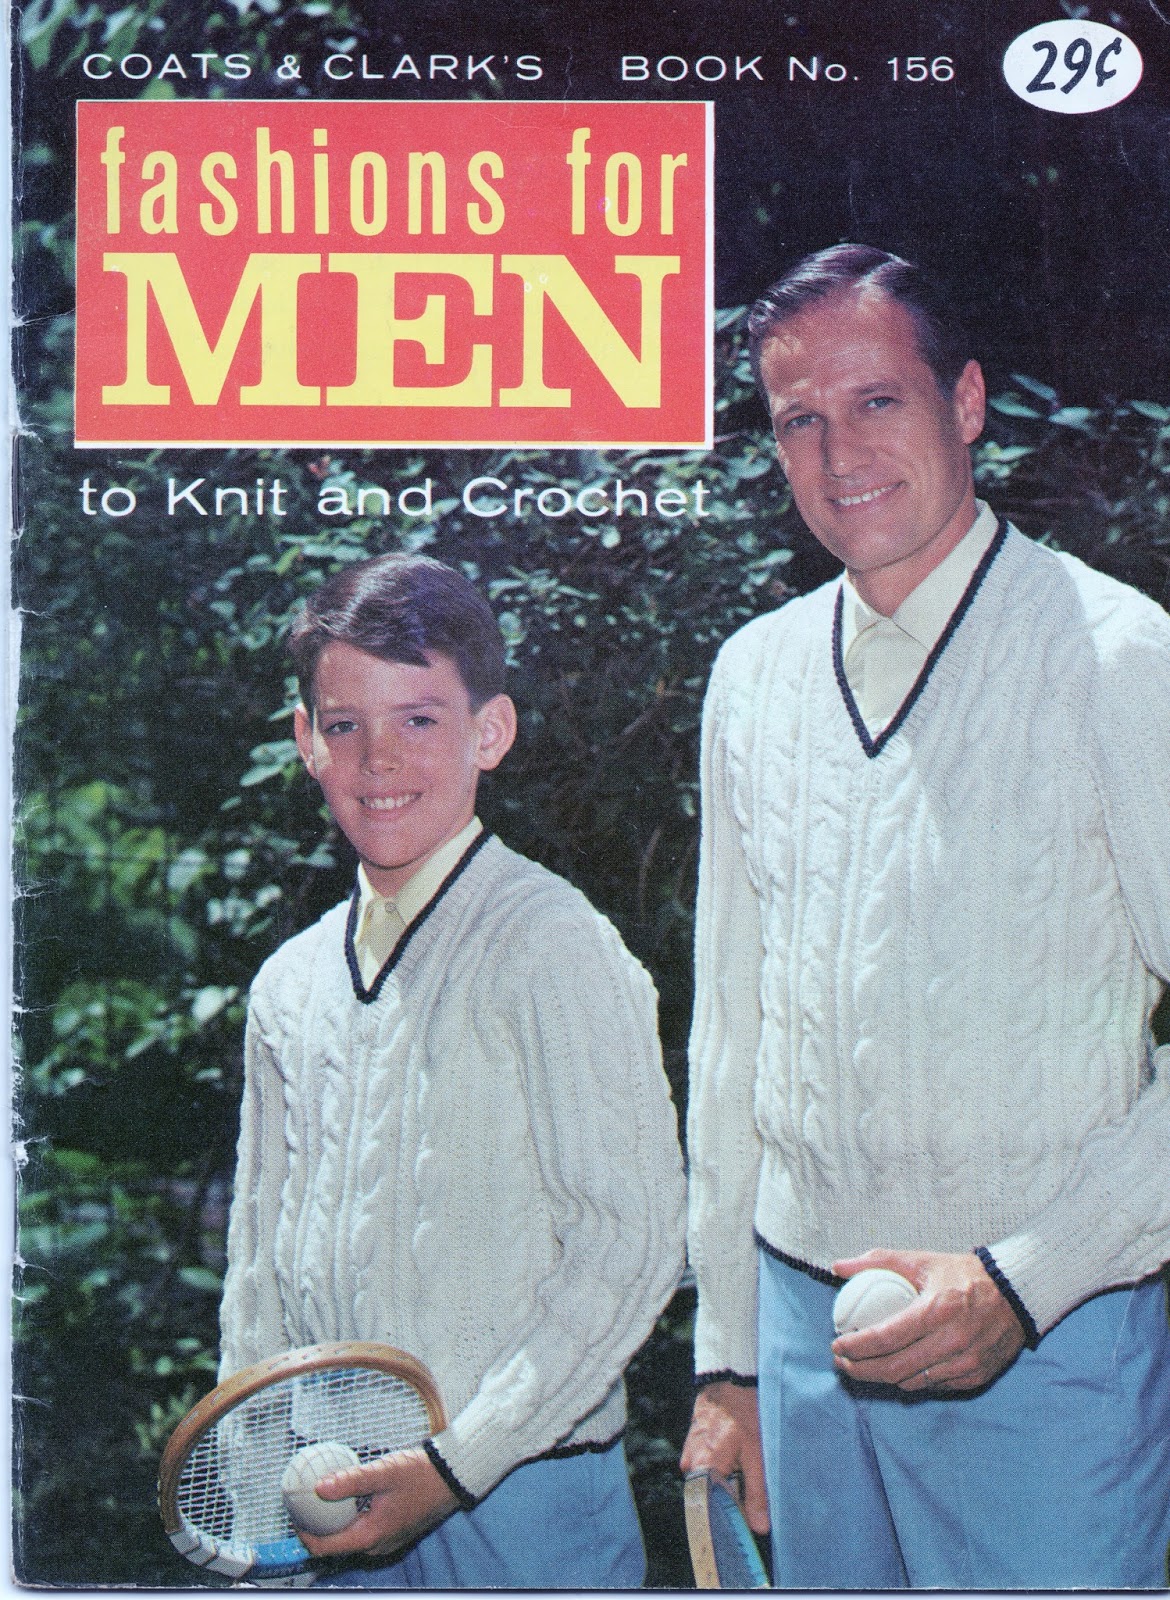
Some of the pamphlets and magazines were quite old, and all of the patterns have a "classic charm":
Others were from a less... glamorous era:
Some have patterns that look straightforward:

Others, seem more difficult:


The men are sporting:

And the women are fashionable:

In theory, I like patterns that don't use frou frou yarns, that focus on colorwork and stitch patterns, and I don't mind something that doesn't have a contemporary look.
But, that is in theory. In reality, it is much harder to search vintage patterns to find one that fits my needs. Many of them assume that you have more time, so they use small needles. A lot of the colorwork patterns would require me to buy more yarn, rather than using the stuff I already have. Most of the ones I own are for sweaters, so it would take me a very long time to do more than one of the patterns. And they are never written in my size, so I would have to completely rewrite the pattern anyway.
But the pictures are still fun to look at (especially for the really ugly patterns). I picked up a whole stack of vintage patterns at a science fiction convention a few years ago, so let's see what we have.
Some of the pamphlets and magazines were quite old, and all of the patterns have a "classic charm":
 |
| Cover to one of the older titles |
 |
| Can you guess when this pamphlet was made? |

Others, seem more difficult:
But in all eras, the kids are cute:

And the women are fashionable:

Sunday, September 20, 2015
Working with Scales
As I continue spinning my laceweight and knitting my skirt, I want to introduce one of my essential tools: my kitchen scale.
As you can see from the picture, I actually have two scales. The first one I got is a mechanical scale. It can measure up to 22 lbs. and is decent for weighing fleeces. Unfortunately, most spinning uses for a scale require measurement in ounces or grams. The second scale in the picture is an electric scale (it is the one with the bobbin-full of laceweight singles on top). It measures in tenths of ounces, and is generally much more useful.
 |
| Two essential tools |
So, what can one do with a scale? The most common use for it is to split the wool (somewhat) evenly, so that when you ply, there is a minimum of waste. You can also do what I am doing in the photo and measure how much you have made, so that you make approximately the same amount for the next bobbin (or two). Of course, unless you have perfectly even spinning, the length will only approximately match the weight, so it won't be exact.
You can also measure the final product and get the grist (e.g. yards per pound) or simply the weight for sale.
But there are also knitting applications for a good scale, and they are under-utilized.
For instance, if you are making a scarf, and you want to start a pattern in the very center, you can measure the scarf and the remaining yarn to see when they match. The yarn will weigh the same whether it is knitted or not.
Even better, you can use the weight to measure early if you are going to have enough yarn to finish a project. If you start a sweater, and you are a few rounds into it, you can weight it, compare that with the number of rows you will eventually do, and weight the remaining yarn to see if you have enough.
Tools are useful, and a scale is a great tool for planning out your work.
Bonus: a picture of my crafting desk (which I use for storage, rather than crafting):
 |
| Yes, I do keep my old straight needles in a vase. |
Wednesday, September 16, 2015
More Hats: Cables
When I learned how to knit, my grandmother told me that she would teach me how to cable when I had mastered the basics. Somehow, I got it into my head that cabling was terrifically difficult, and only a master should try it. I have now learned better, but there are still some things to watch out for that make cabling a bit challenging.
1. Going back and fixing mistakes when you are cabling is nearly impossible without just ripping everything out.
2. The stitches can get very tight, so you need good needle control.
So, dipping into my apparently vast array of hats that I have made...
Cables!
This hat was made as a mother's day gift out of some bulky yarn that I received as a gift. The pattern comes from an ancient pattern book of hats (well 1985) that my grandmother gave me for the illustrated knitting instructions. I have been thinking of doing a stash buster by trying to make every hat in the book at some point.
Unfortunately, because I used bulkier yarn than the pattern called for, the hat came out too big. I decided to try to fix it by lightly felting it. It got a bit smaller, but I think it lost some of the pattern distinctiveness along the way.
On to number two!
There was no pattern for this one - I just did a rib for the brim, then "twisted" the parts that stuck out. I used a very thick bulky yarn, so I am sure it was warm for my brother until he lost the hat. The main problem was that the yarn was a tad underspun, so that I kept being worried that the yarn would break every time I made a cable.
Ok, final hat of the day.
This one I made in a single weekend for my husband. I had been working on a hat for him for a while, and I finished it and realized that I had made a horrible mistake with the pattern, and it was unwearable. So I made him this hat to apologize. It utilizes both a "twisted" rib (it is basically a very simple cable) and mosaic knitting. I took the pattern off of Ravelry, and I rather like how it came out.
The one problem is that I used very large needles to get it finished quicker, so that it doesn't protect from the wind so well.
1. Going back and fixing mistakes when you are cabling is nearly impossible without just ripping everything out.
2. The stitches can get very tight, so you need good needle control.
So, dipping into my apparently vast array of hats that I have made...
Cables!
 |
| Cable Hat #1 |
Unfortunately, because I used bulkier yarn than the pattern called for, the hat came out too big. I decided to try to fix it by lightly felting it. It got a bit smaller, but I think it lost some of the pattern distinctiveness along the way.
On to number two!
 |
| Cable Hat #2 |
Ok, final hat of the day.
 |
| Cable Hat #3 |
The one problem is that I used very large needles to get it finished quicker, so that it doesn't protect from the wind so well.
Thursday, September 10, 2015
You Get What You Pay For
One of the disadvantages of doing a craft that people don't do that much is that when your tools break, you have to find a way to fix them on your own.
Sometimes, this is easy. When my Ashford Traditional wheel breaks (the drive band snaps or something similar) I can get an Ashford basic repair kit that will have the parts that commonly need replacing. It is a popular wheel, so there are others to help with common problems.
Not so with my mystery wheel.
I have mentioned before that I bought a mystery wheel off of Craigslist. The seller (an antique shop) said it was from the 1920s, but there is a strong possibility it is from the 1970s, based on wear and tear.
It has been a learning experience, and has necessitated many trips to the hardware store.
When I first got it, it needed some serious oiling. It also has a large crack in the foot board that needed to be glued and clamped. I had the glue, but had to go out and buy the clamp.
I got it working, but I didn't really know what I was doing. It was my first wheel. I didn't have spinning wheel oil, so I improvised with olive oil and later carbon dust (which is advertised for locks. It works, but it makes a mess). I didn't have an orifice hook, so again, I improvised. I made something-or-other out of hanging wire that is a bit like a sewing needle threader.
I started making some (funky) yarn.
But then, as it got later in the spring, and the heat turned off, it mysteriously stopped working. The treadle would turn, but the wheel would just not turn with it.
This is when I threw up my hands and bought my Ashford.
But I also stared at it, and thought, and thought, and stared, and asked people on message boards, and... I finally found a little hole in the side of the wheel. There was no screw in it, so at first I thought that the screw had come out. But no matter what I poked in there, I couldn't find the hole in the drive shaft. I looked really closely, and discovered that the hole had some metal. Ah ha! Maybe it would tighten with an allen wrench? (it helps that I had been looking at Ashford manuals to try to figure out how to fix my new wheel)
Success! Now I have two working spinning wheels.
The one problem is that my mystery wheel only has one bobbin. If I want to do any plying, I need to wind everything onto a drinking straw or other bobbin.
So, I did what any sensible person would do, and put out feelers on Craigslist for people willing to do a wood turning job.
I got two hits. Both seemed competent. One had a professional shop, but would charge more than I had offered and was 40 minutes away (I would have to go there to bring him the old bobbin). The other was closer and would do the job for less money. I chose the cheaper option....
and I got what I paid for. They look beautiful, but only one of the new one really works. The middle hole is crooked, so they don't spin freely. I'm not sure it is worth it to contact him and drive 20 minutes to get him to do it again.
The maker did send me a number of cool photos of his process though.
Sometimes, this is easy. When my Ashford Traditional wheel breaks (the drive band snaps or something similar) I can get an Ashford basic repair kit that will have the parts that commonly need replacing. It is a popular wheel, so there are others to help with common problems.
 |
| Ashford Traditional in working order |
Not so with my mystery wheel.
 |
| Mystery Wheel |
I have mentioned before that I bought a mystery wheel off of Craigslist. The seller (an antique shop) said it was from the 1920s, but there is a strong possibility it is from the 1970s, based on wear and tear.
It has been a learning experience, and has necessitated many trips to the hardware store.
When I first got it, it needed some serious oiling. It also has a large crack in the foot board that needed to be glued and clamped. I had the glue, but had to go out and buy the clamp.
I got it working, but I didn't really know what I was doing. It was my first wheel. I didn't have spinning wheel oil, so I improvised with olive oil and later carbon dust (which is advertised for locks. It works, but it makes a mess). I didn't have an orifice hook, so again, I improvised. I made something-or-other out of hanging wire that is a bit like a sewing needle threader.
I started making some (funky) yarn.
But then, as it got later in the spring, and the heat turned off, it mysteriously stopped working. The treadle would turn, but the wheel would just not turn with it.
This is when I threw up my hands and bought my Ashford.
But I also stared at it, and thought, and thought, and stared, and asked people on message boards, and... I finally found a little hole in the side of the wheel. There was no screw in it, so at first I thought that the screw had come out. But no matter what I poked in there, I couldn't find the hole in the drive shaft. I looked really closely, and discovered that the hole had some metal. Ah ha! Maybe it would tighten with an allen wrench? (it helps that I had been looking at Ashford manuals to try to figure out how to fix my new wheel)
Success! Now I have two working spinning wheels.
The one problem is that my mystery wheel only has one bobbin. If I want to do any plying, I need to wind everything onto a drinking straw or other bobbin.
 |
| Bobbin from the mystery wheel |
So, I did what any sensible person would do, and put out feelers on Craigslist for people willing to do a wood turning job.
I got two hits. Both seemed competent. One had a professional shop, but would charge more than I had offered and was 40 minutes away (I would have to go there to bring him the old bobbin). The other was closer and would do the job for less money. I chose the cheaper option....
and I got what I paid for. They look beautiful, but only one of the new one really works. The middle hole is crooked, so they don't spin freely. I'm not sure it is worth it to contact him and drive 20 minutes to get him to do it again.
 |
| Original bobbin on the left, copies on the right. |
 |
| Bobbins in progress |
Thursday, September 3, 2015
Going to the Fair
This year, for the first time, I submitted some pieces to the State Fair. My mother-in-law submits beautiful work every year (and usually wins) but I had never considered it. She talked me into it though, and I submitted two pieces.
The first, my recently completed vest, I submitted in the category for knitted vests. It got a participation ribbon. I don't actually know what that means, since not all the entrants got one.
The second piece, my set of trivets, won fourth place in the category of "other handspun item".
Going to the fair was kind of weird though. It was like there were two fairs: the agricultural and craft fair, displaying the talents of Marylanders, and an amusement park. At the state fair I went to growing up, it had both, but they were on opposite sides of the fairgrounds. Here, they were all mixed together.
The produce competition:
Craft competitions:
Amusement park:
And it seemed like the two parts of the fair didn't mix that much, except that parents took little kids to see the farm animals.
I did get to see some gorgeous knitting (and other crafts). Maybe it will inspire me to be a little more careful with my next project, so that it holds up to close scrutiny.
The first, my recently completed vest, I submitted in the category for knitted vests. It got a participation ribbon. I don't actually know what that means, since not all the entrants got one.
 |
| Vest on display with ribbon |
 |
| Terrible photo of trivets and yarn sample on display with ribbon. |
The produce competition:
 |
| best set of 8 corn cobs |
 |
| Craft competitions, mostly quilts and needlework in this area |
 |
| Stoned penguin and squids? |
I did get to see some gorgeous knitting (and other crafts). Maybe it will inspire me to be a little more careful with my next project, so that it holds up to close scrutiny.
Subscribe to:
Comments (Atom)

